Update asset
Reference:
| Field | Description |
|---|---|
| Name (Name ID) | Unique name identifier. It must contain only lowercase alphanumeric characters. The characters ., _ and - are allowed to separate words instead of a space BUT can not be at the beginning or end of the name. |
| Title (Display Name) | The display name to show on the Kelvin UI. It can contain any characters, including spaces. |
| Asset Type | The name of the Asset Type that this Asset belongs to. This must be a valid Asset Type name. |
| Properties | A list of key/value pairs that define custom properties of the asset. Use this to define attributes like: Location, Site, PLC Type, Manufacturer, Serial Number, etc. |
Update Asset
Updating an Asset closely mirrors its creation process. However, the name of the Asset is non-editable. To modify the name, you must create a new Asset.
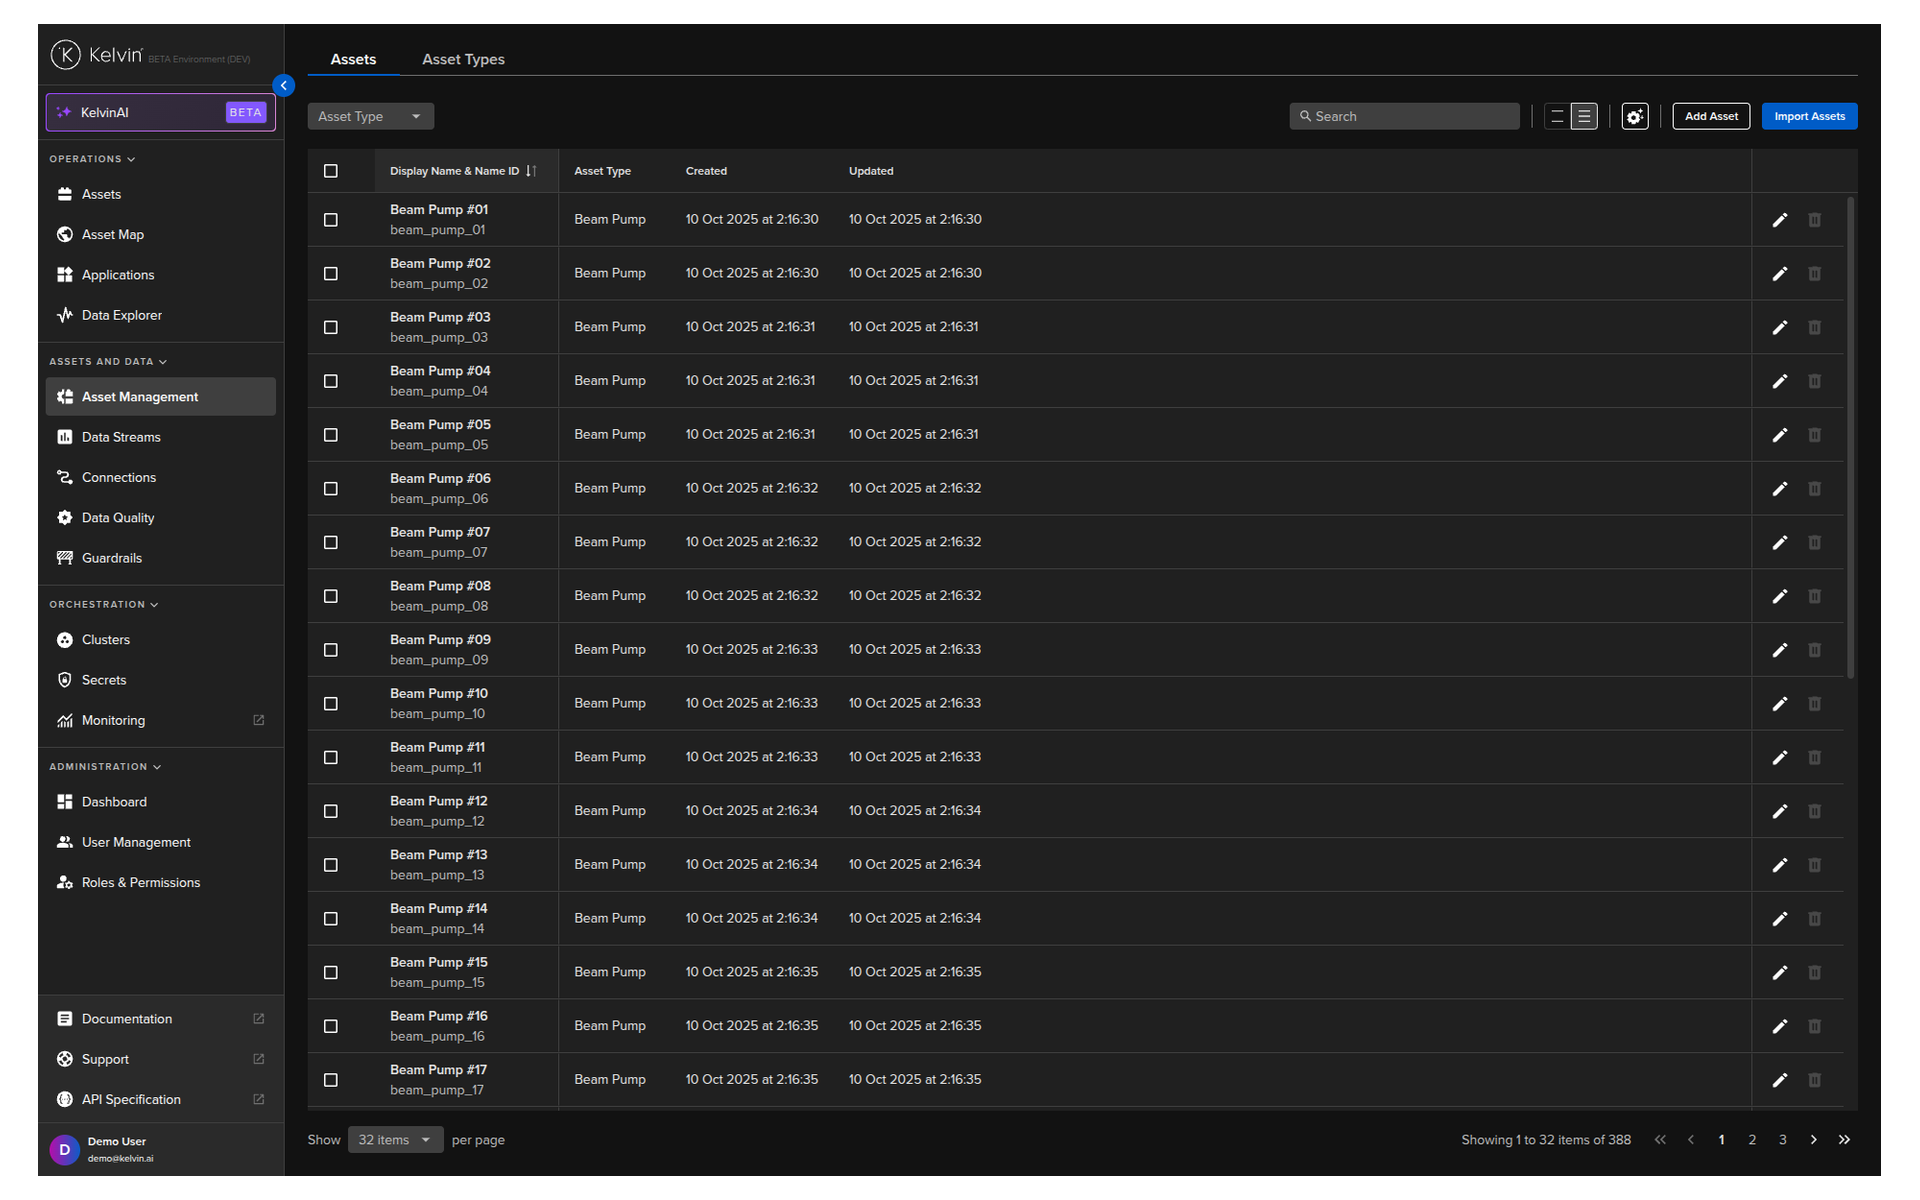
Assets can be managed from the Administration section of the UI.
Do not get confused with the Asset management in the Operations section which is designed for the Production Engineers.
To start, go to the Assets in the Administration section of the left side bar.
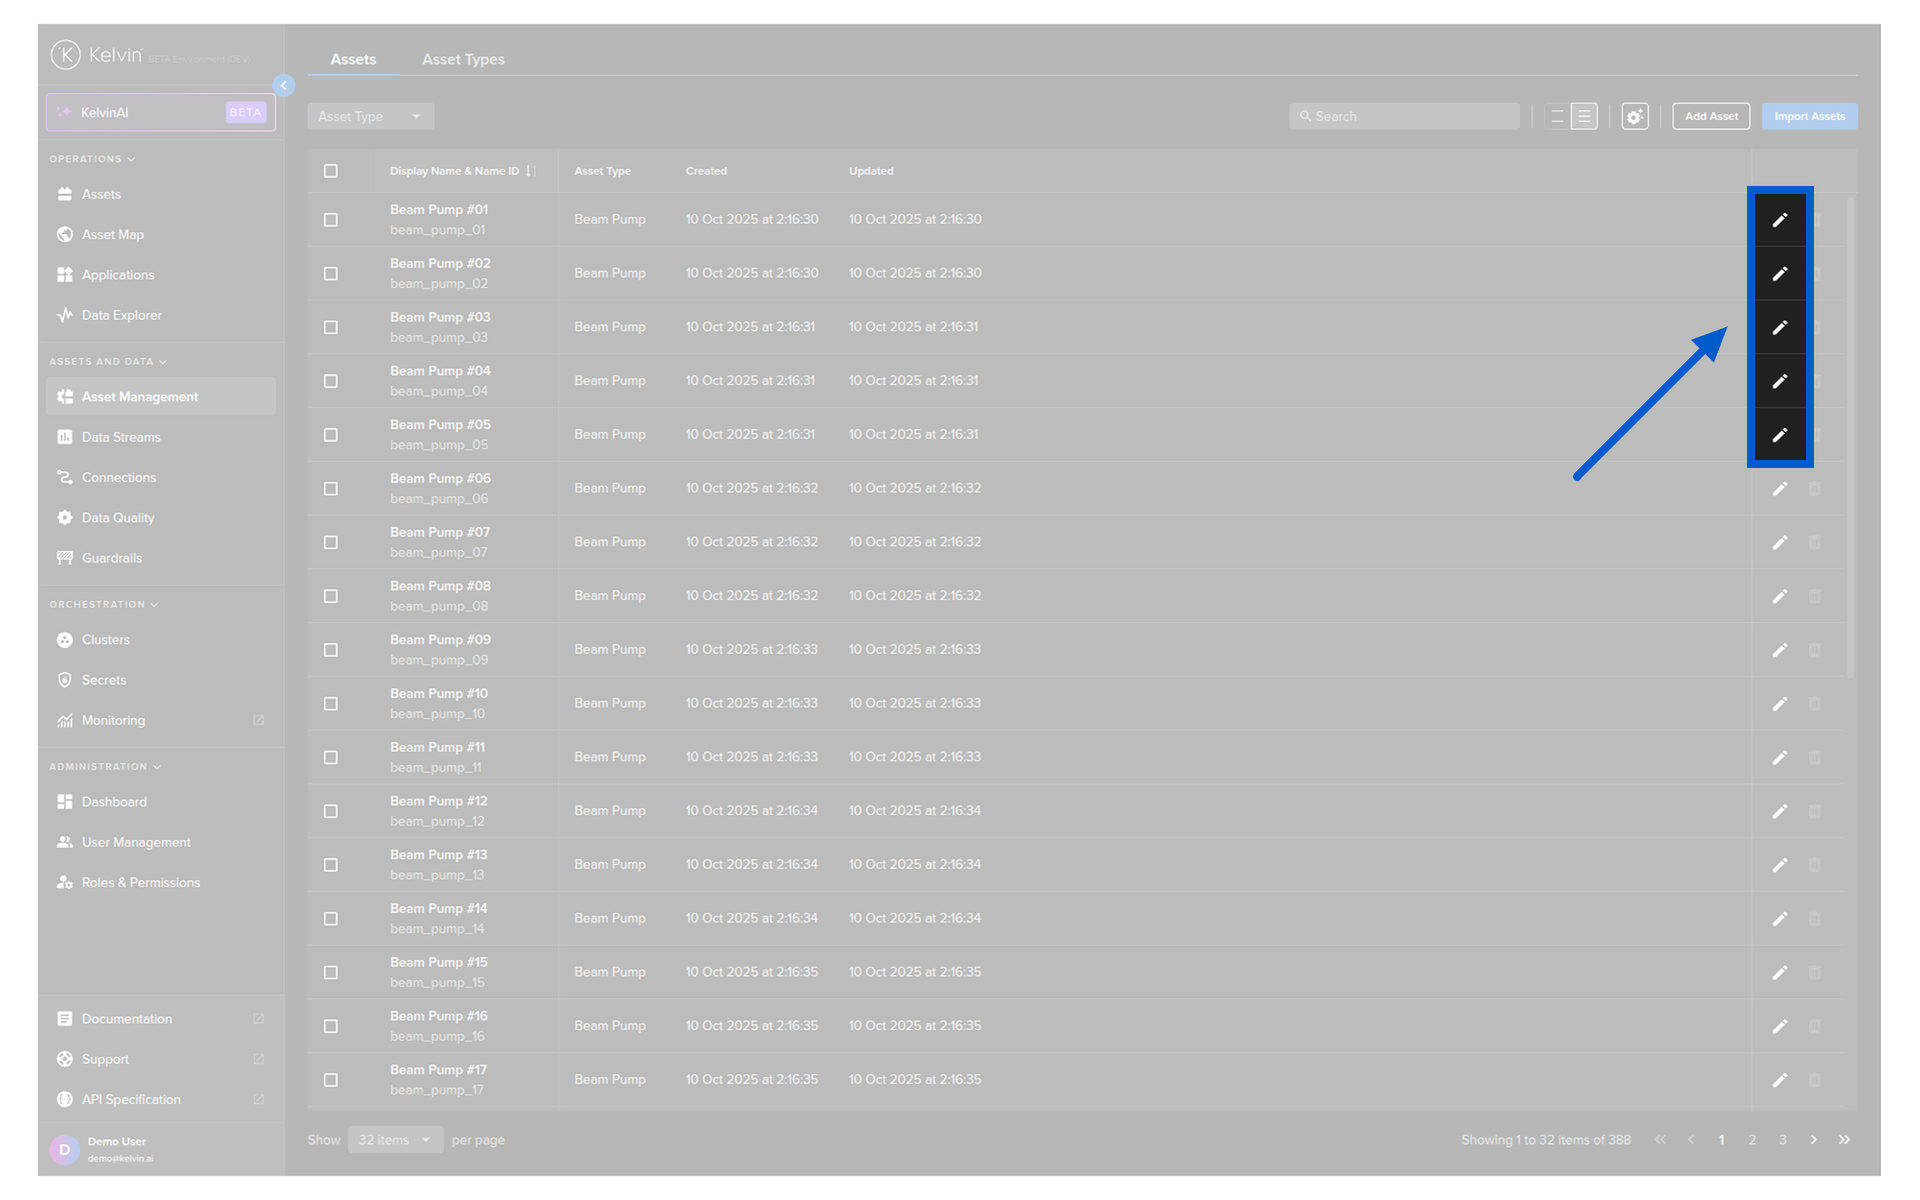
To edit an Asset, click on the pencil icon to the right of the Asset you want to edit.
The popup will appear with the current information. The only value you can not edit is the Name ID.
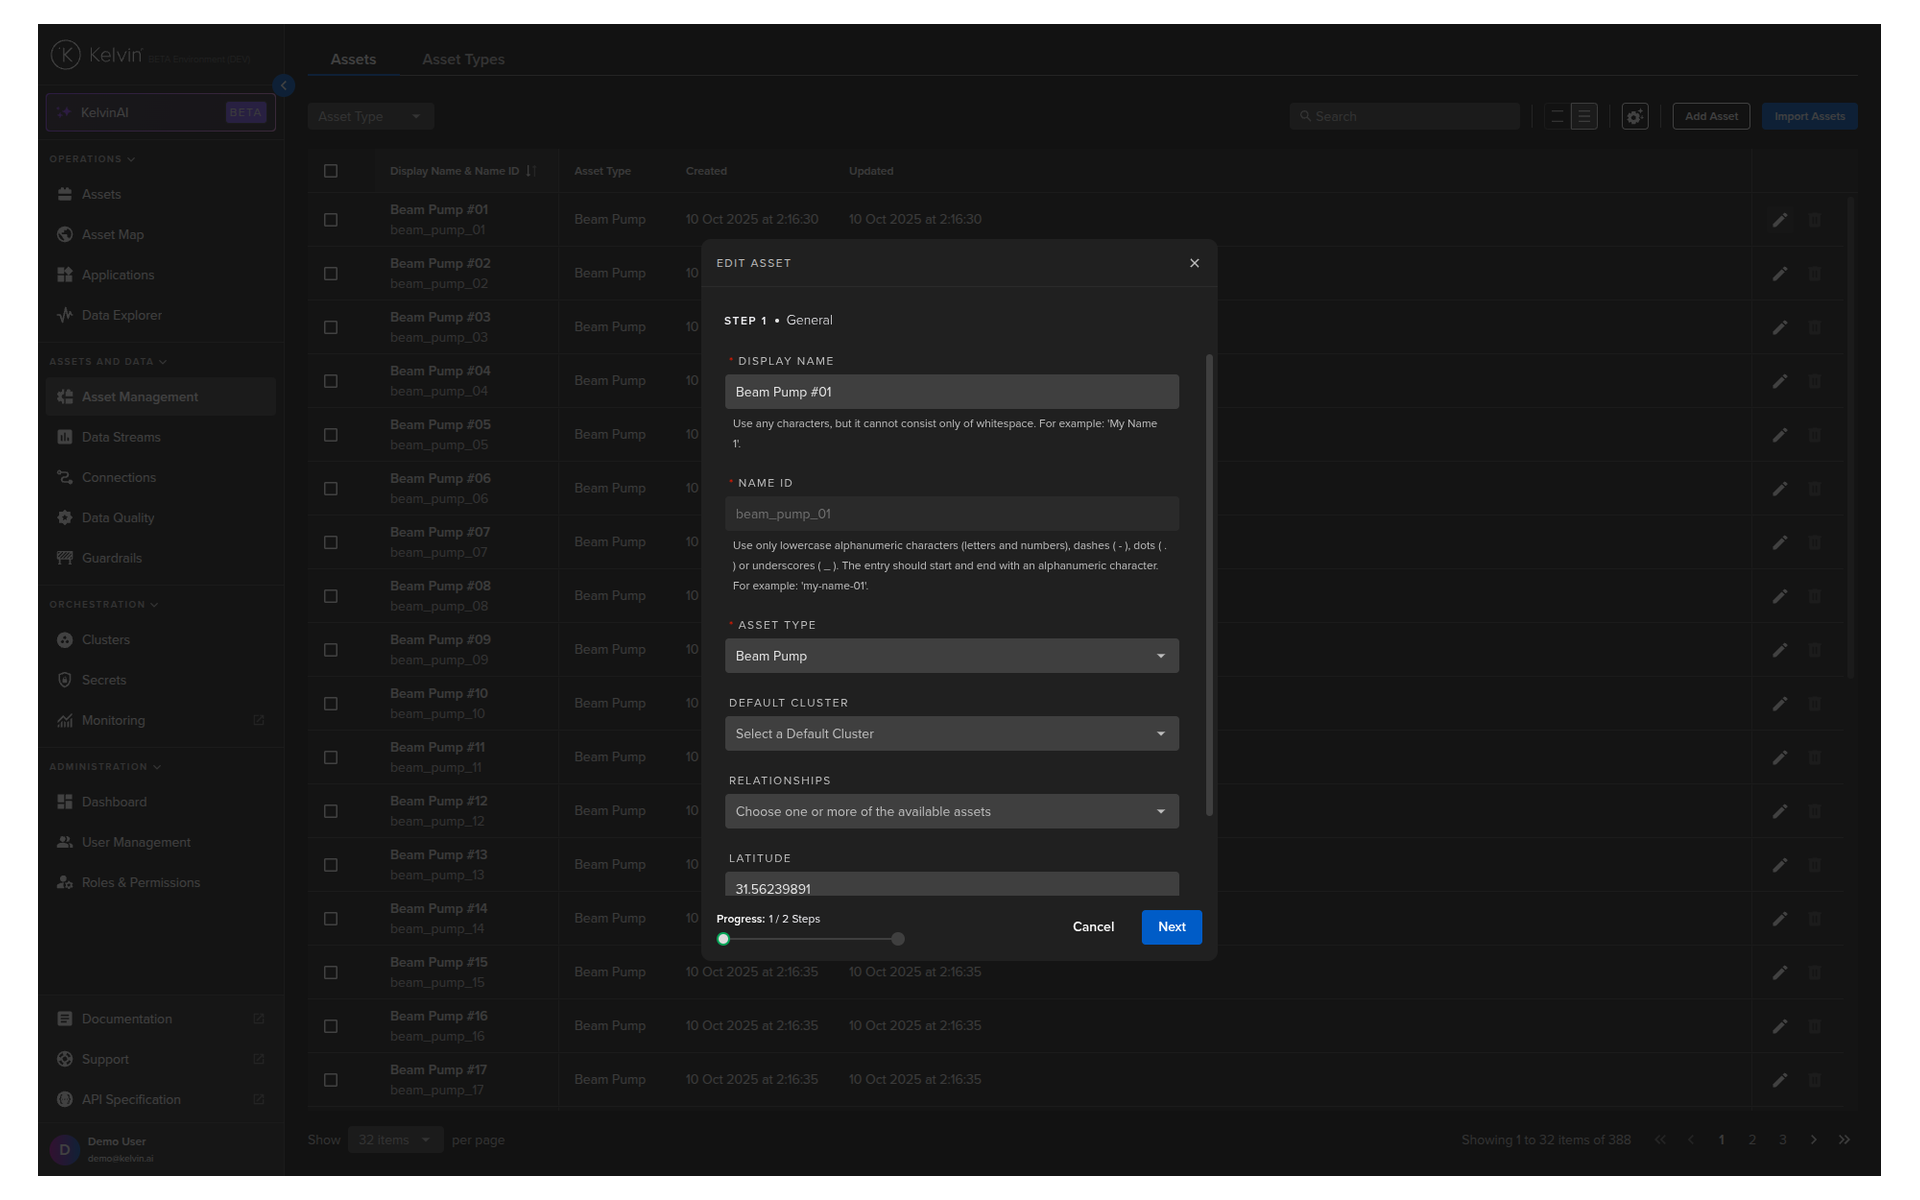
Then click Next to go to the Asset Properties editing. The only value you can not edit is the Type.
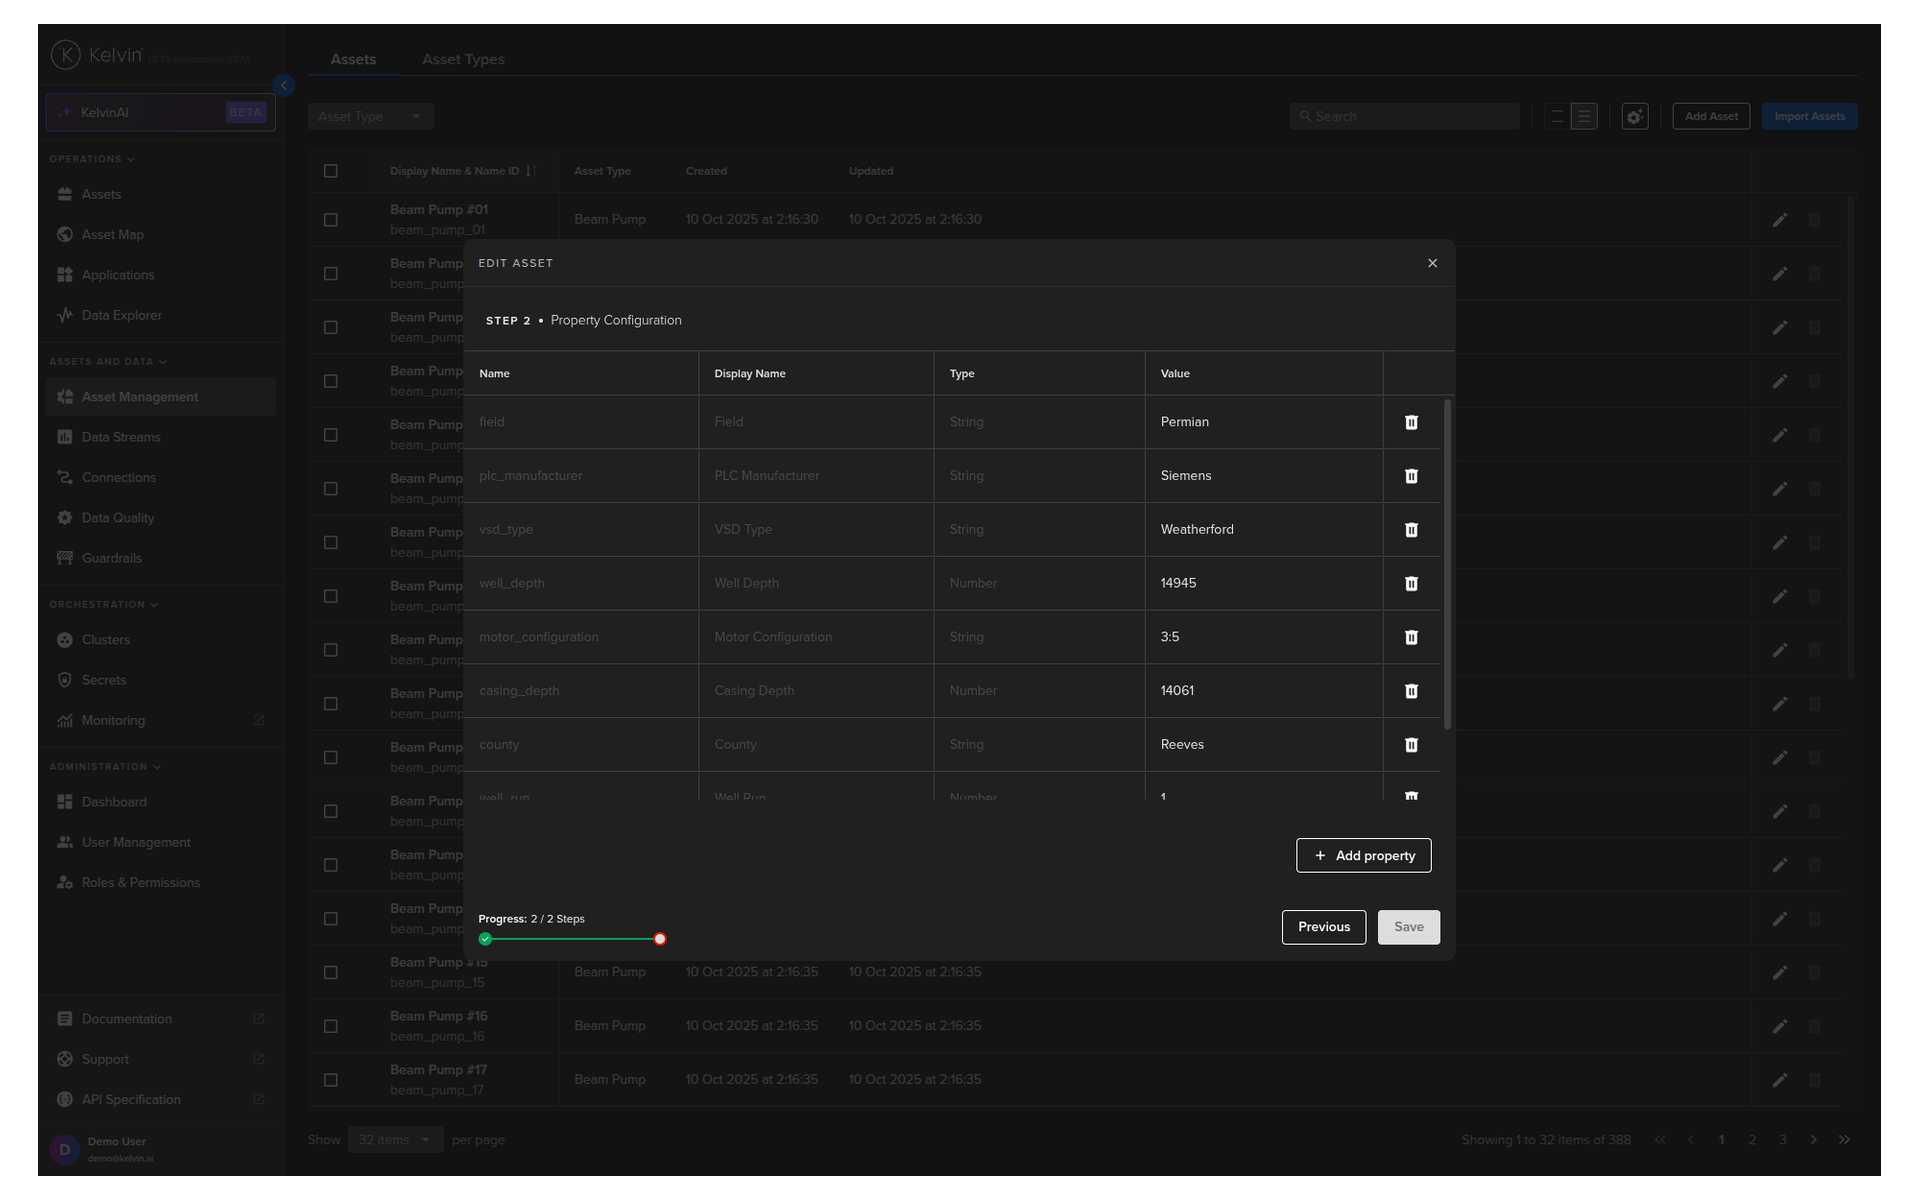
When ready, click Save to update.
To make life easier, you can copy the Asset Name from the Kelvin UI in Operations → Assets. Hover over the Asset Name below the Asset Title in the table, then click on the copy icon that will appear to the right of the name.
| API cURL Example | |
|---|---|
The response will look like this;
To make life easier, you can copy the Asset Name from the Kelvin UI in Operations → Assets. Hover over the Asset Name below the Asset Title in the table, then click on the copy icon that will appear to the right of the name.
| API Client (Python) Example | |
|---|---|
You will get a response similar to this;