Data Quality Metrics
Note
To understand the concept of Data Quality, you can read a full description in the Concept Overview page here.
Overview
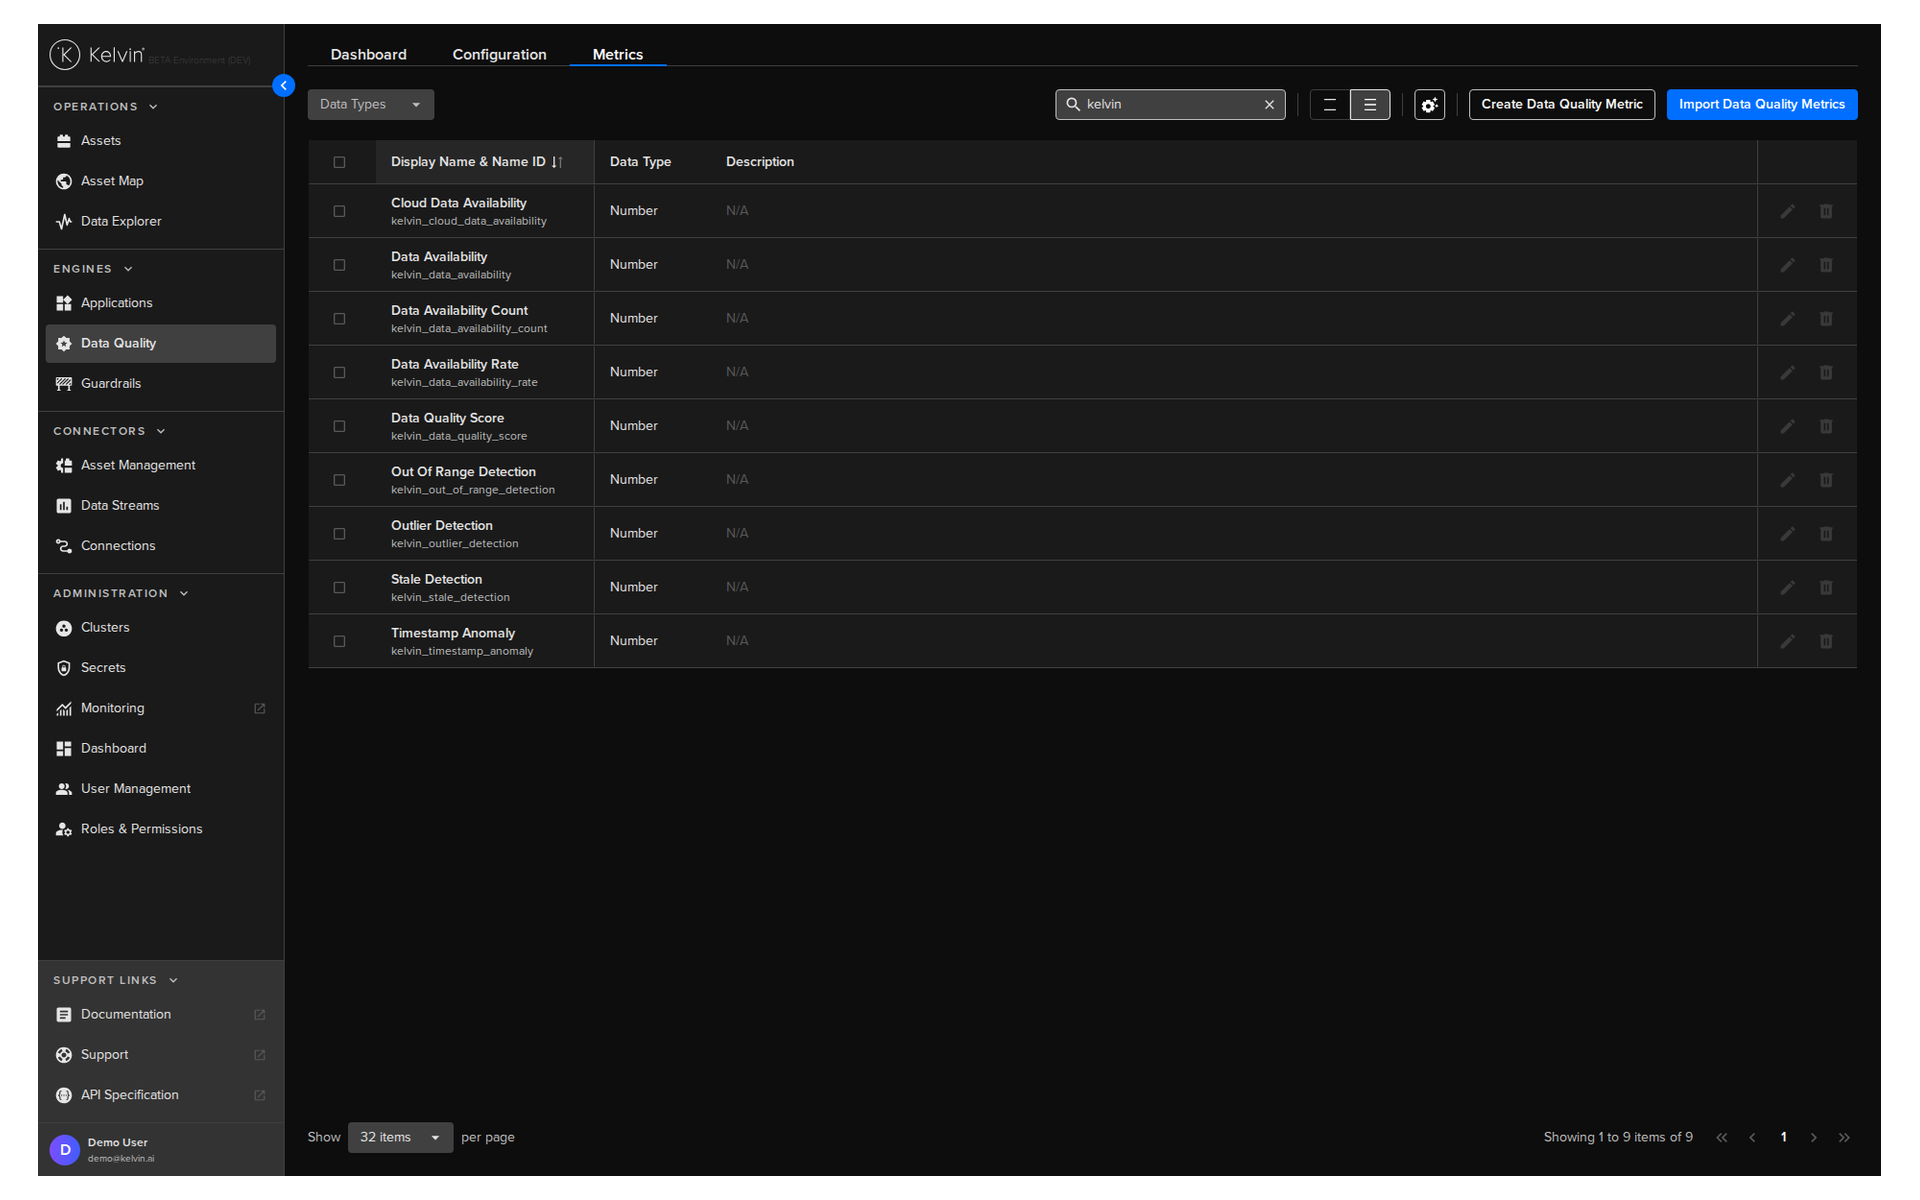
The metrics page shows all the types of Data Quality Metrics available.
This includes both the built-in Data Quality Metric Applications as well as third party custom built Data Quality Metric Applications.
There are five built-in metrics for Asset / Data Stream pairs can be enabled;
- Data Availability
- Outlier Detection
- Range Validation
- Duplication Detection
- Timestamp Anomalies.
To see the list of Metrics, click on the Data Quality menu item and then the Metrics tab.
Features
You have all the usual Kelvin table features available.
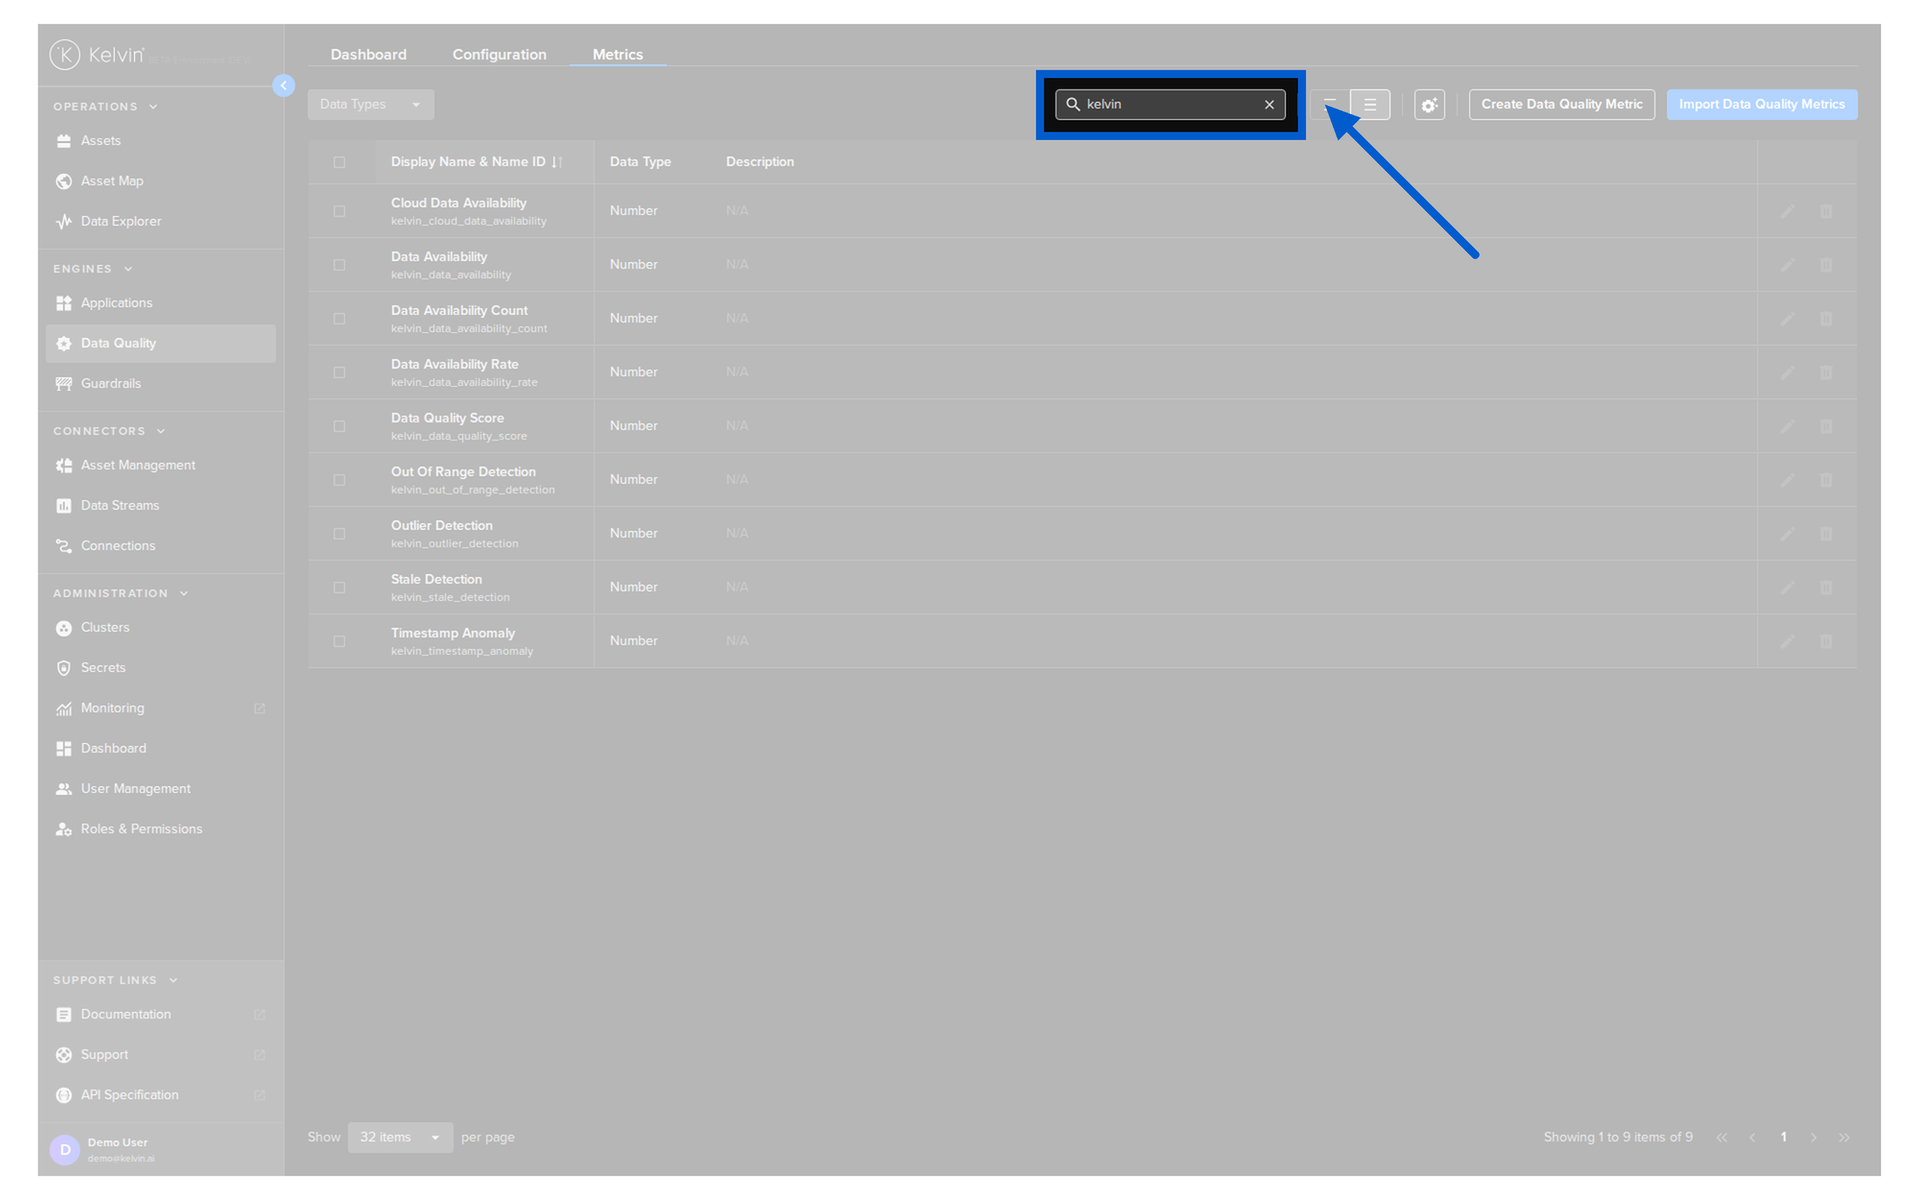
Search
Search the table for specific Metrics.
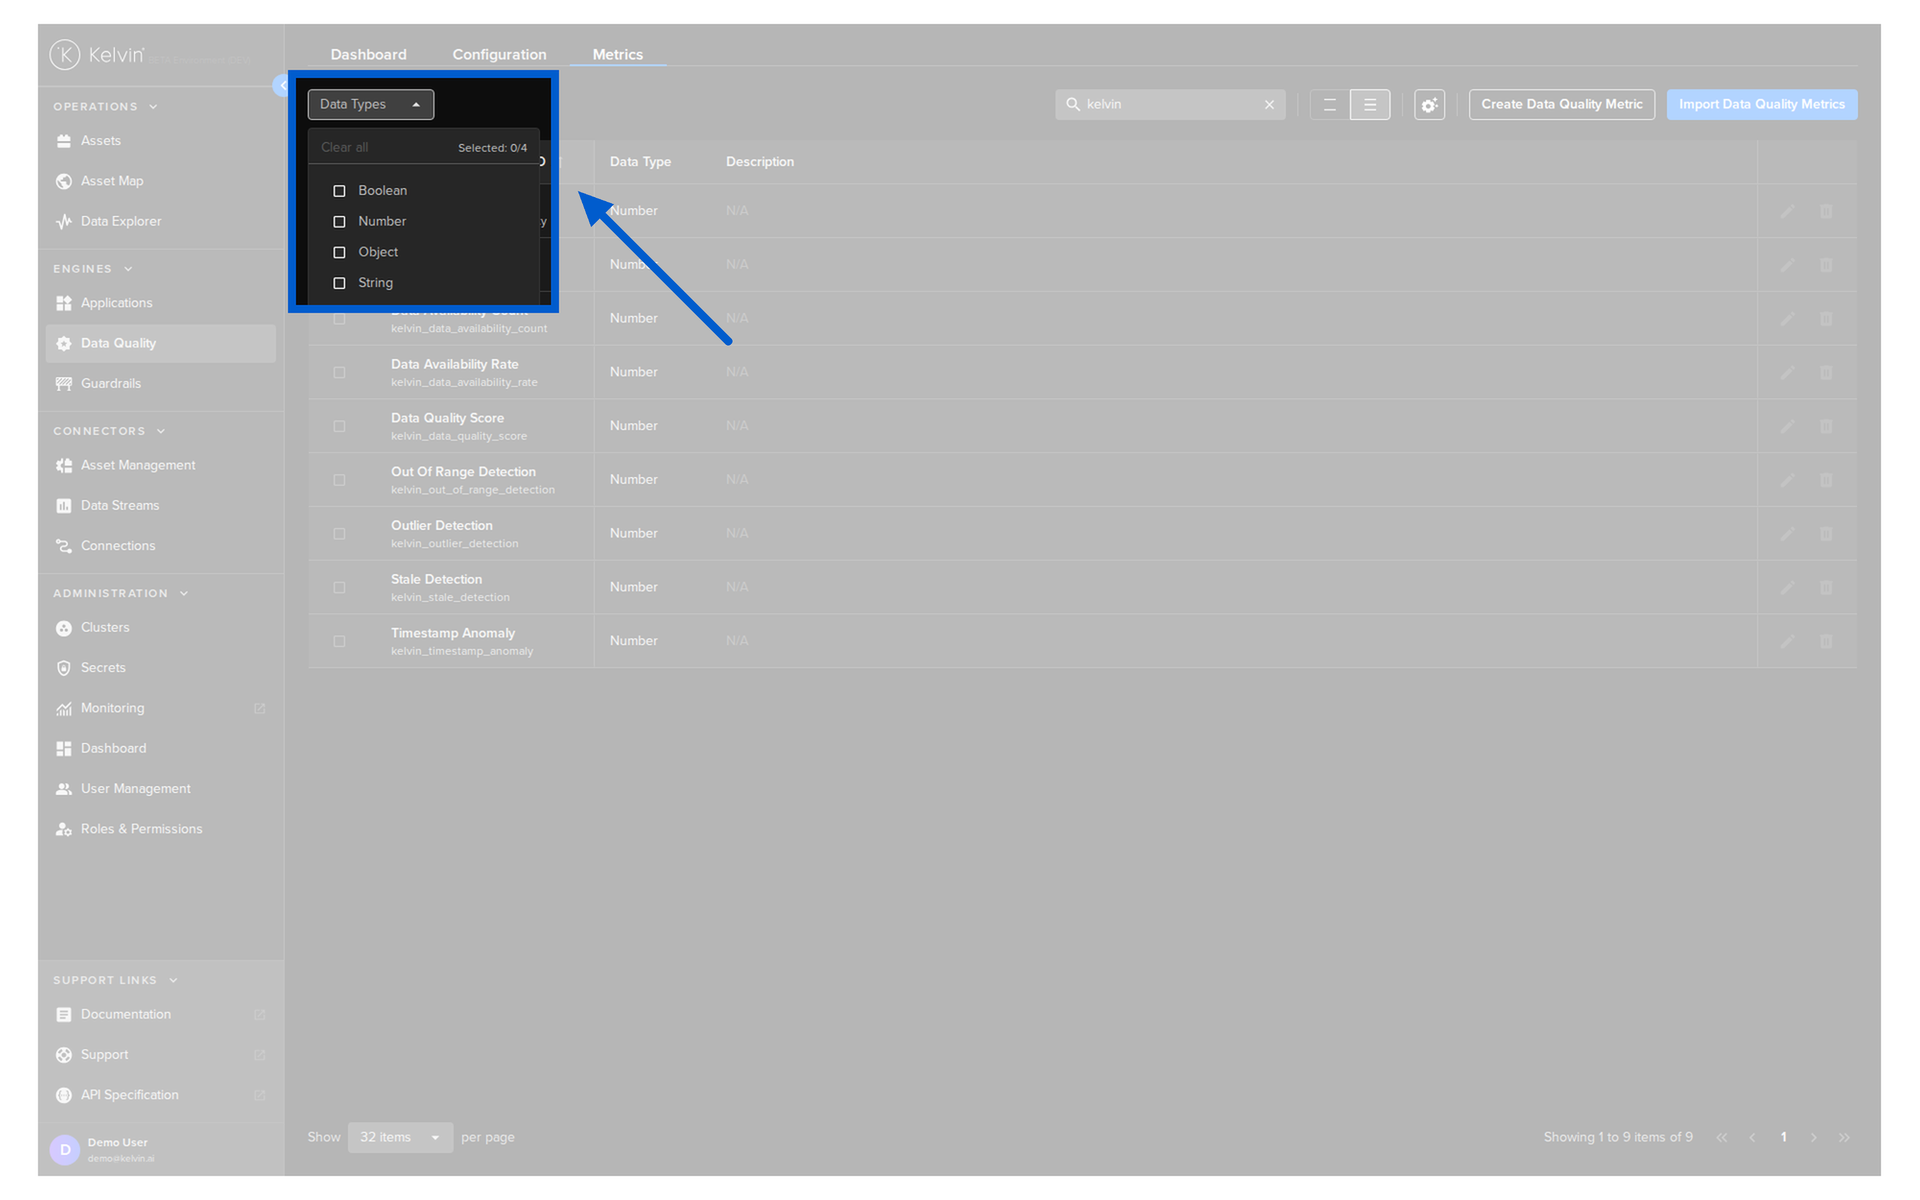
Data Types
Filter the table on one or more specific Data Types.
Note
Data Types is the type of data the Data Quality Metric Application will be processing.
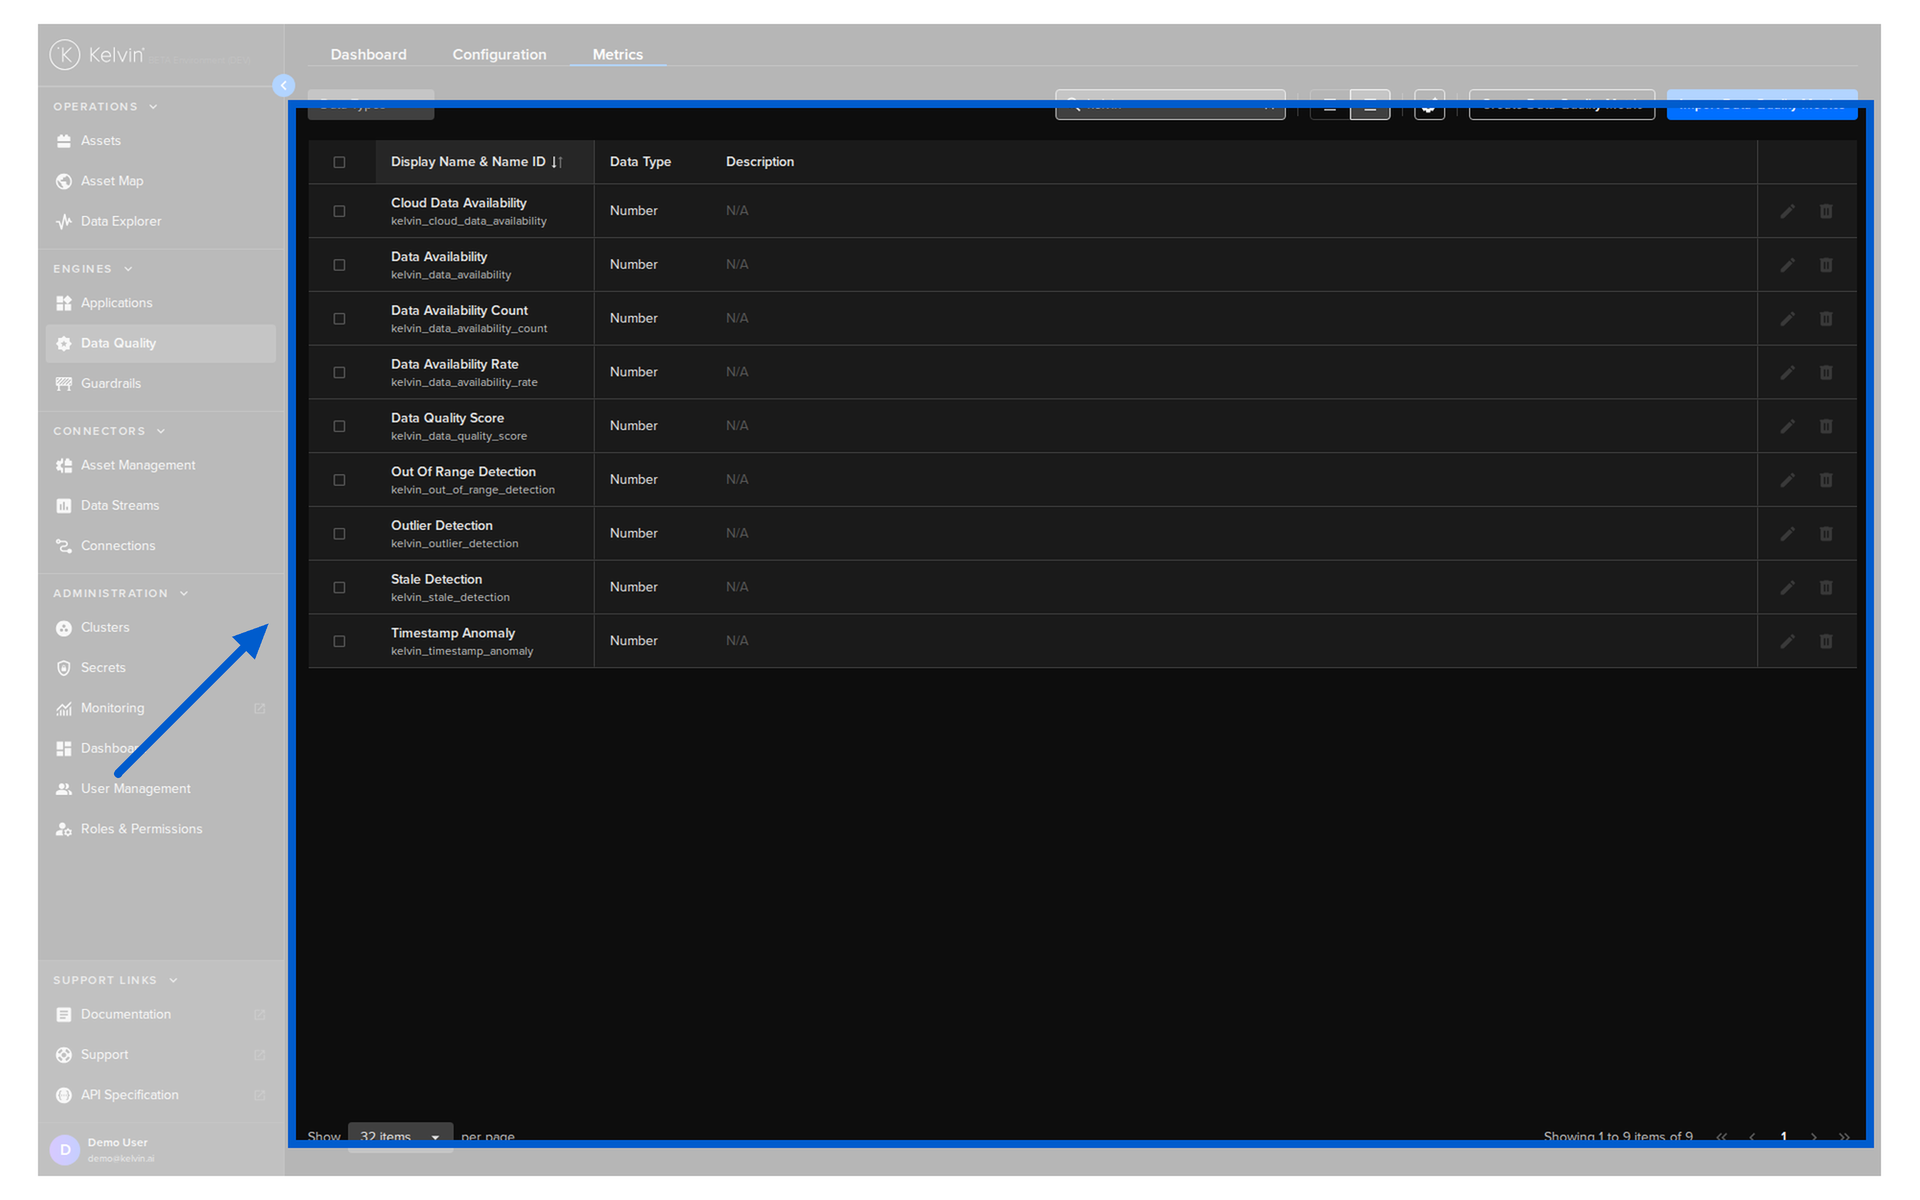
List Features
You have the familiar Kelvin table features including row spacing, page management and table configuration.
Create Data Quality Metrics
You can create the name of the Data Quality Metric and define the Data Type it will be processing.
Warning
You will still need to write a custom Data Quality Metric Application that will process the Data Quality Metric.
You can create Data Quality Metrics either individually or in bulk by importing a CSV file with the list of new Data Quality Metrics.
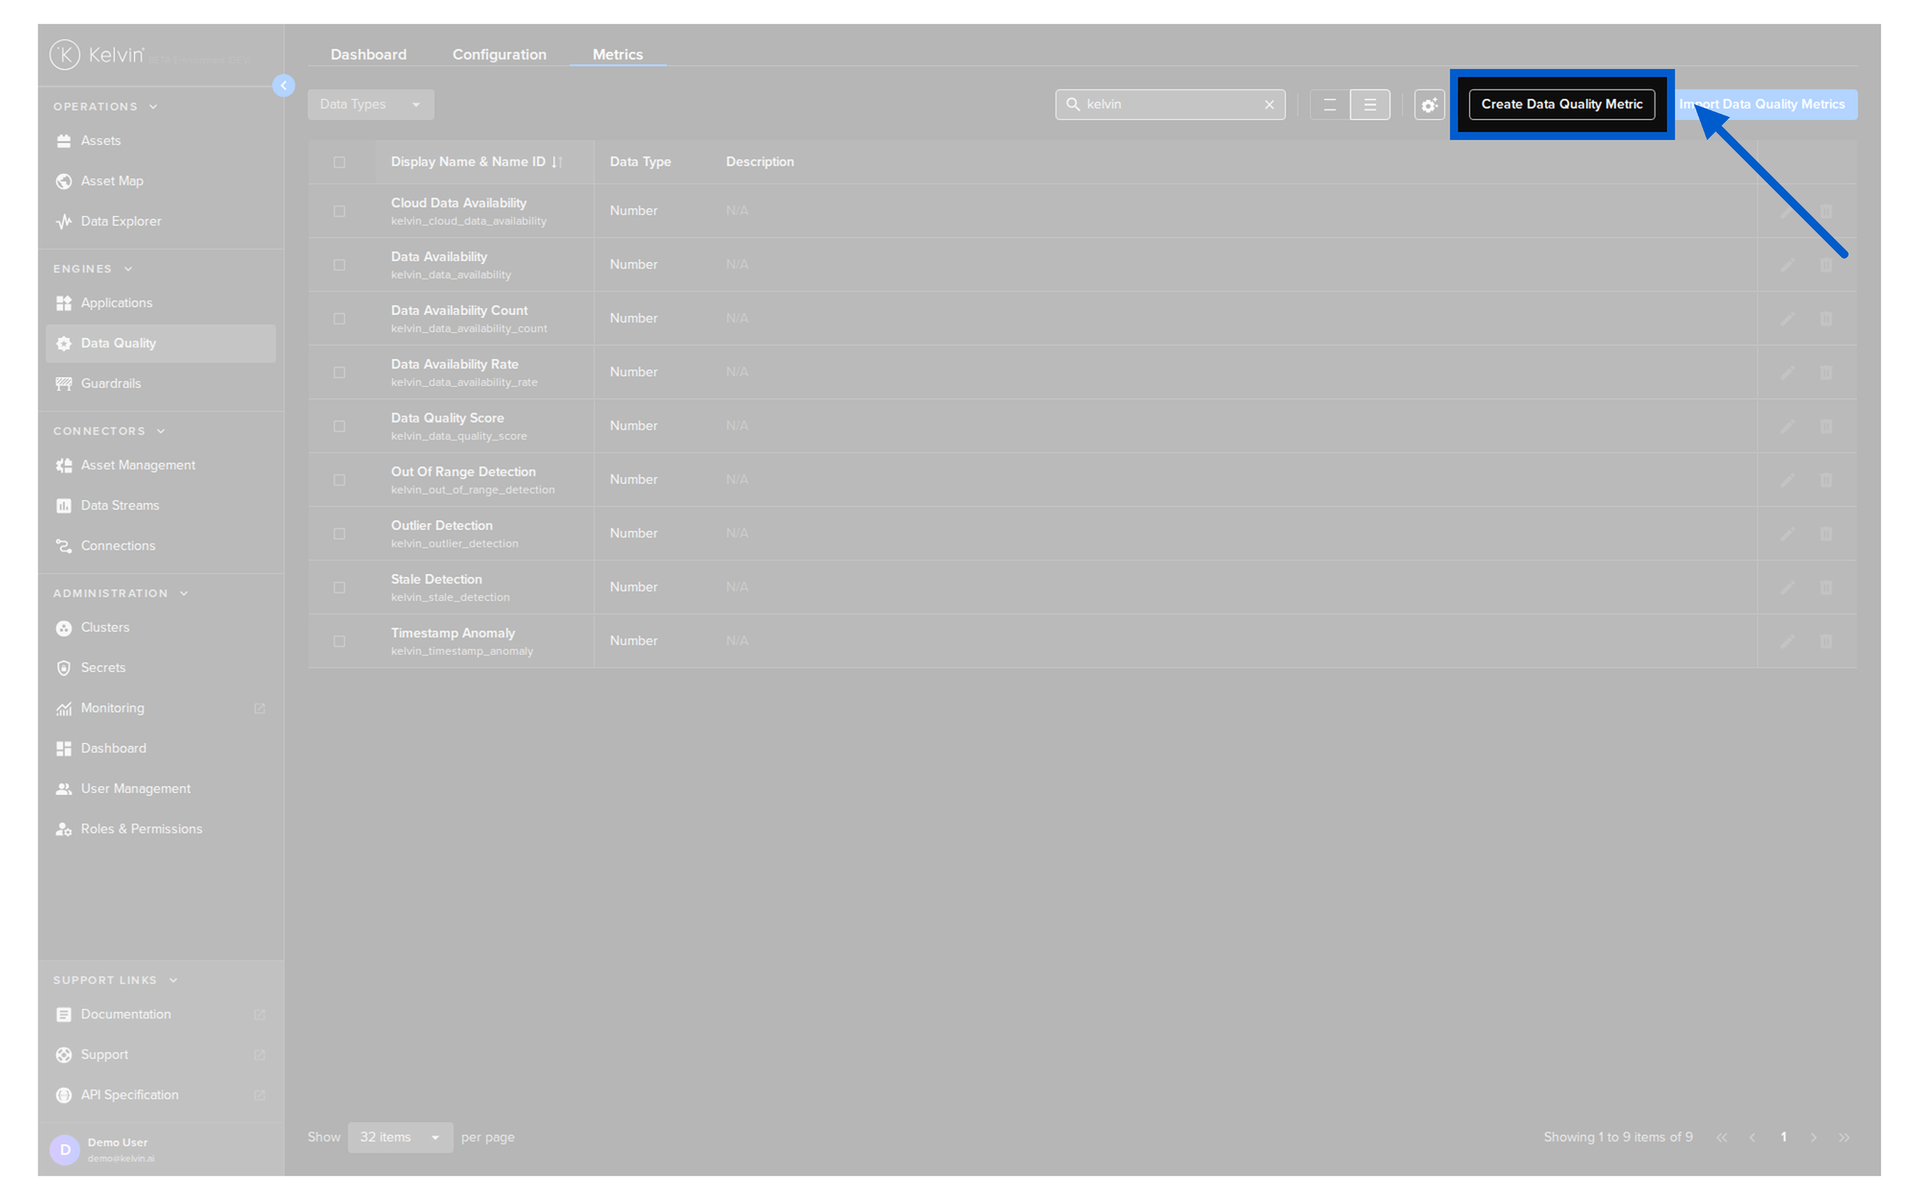
Create Data Quality Metric
Click on the Create Data Quality Metric button in the top right corner.
Type in a Display Name and a Data Type.
Note
The Name ID is automatically created from the Display Name.
You can customize this name id if required.
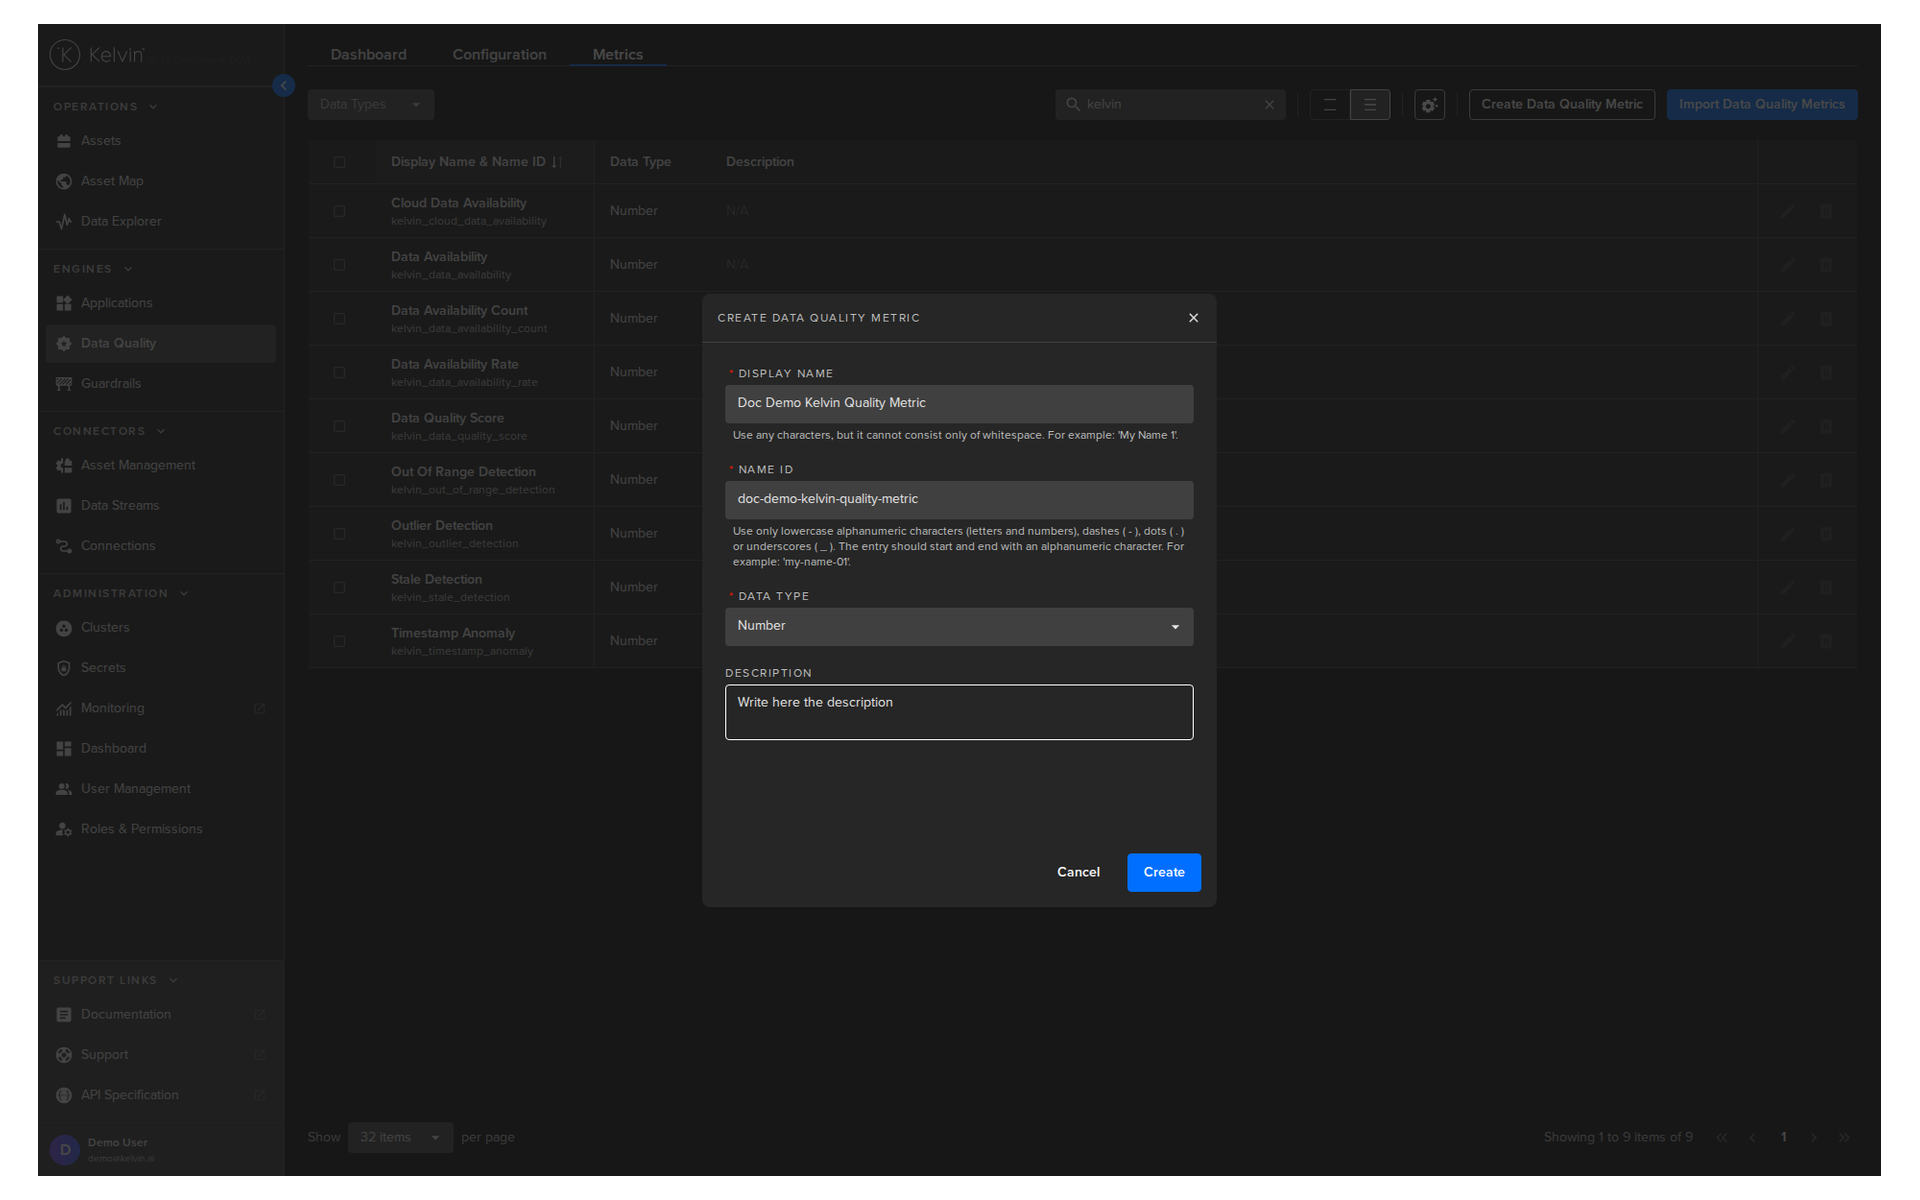
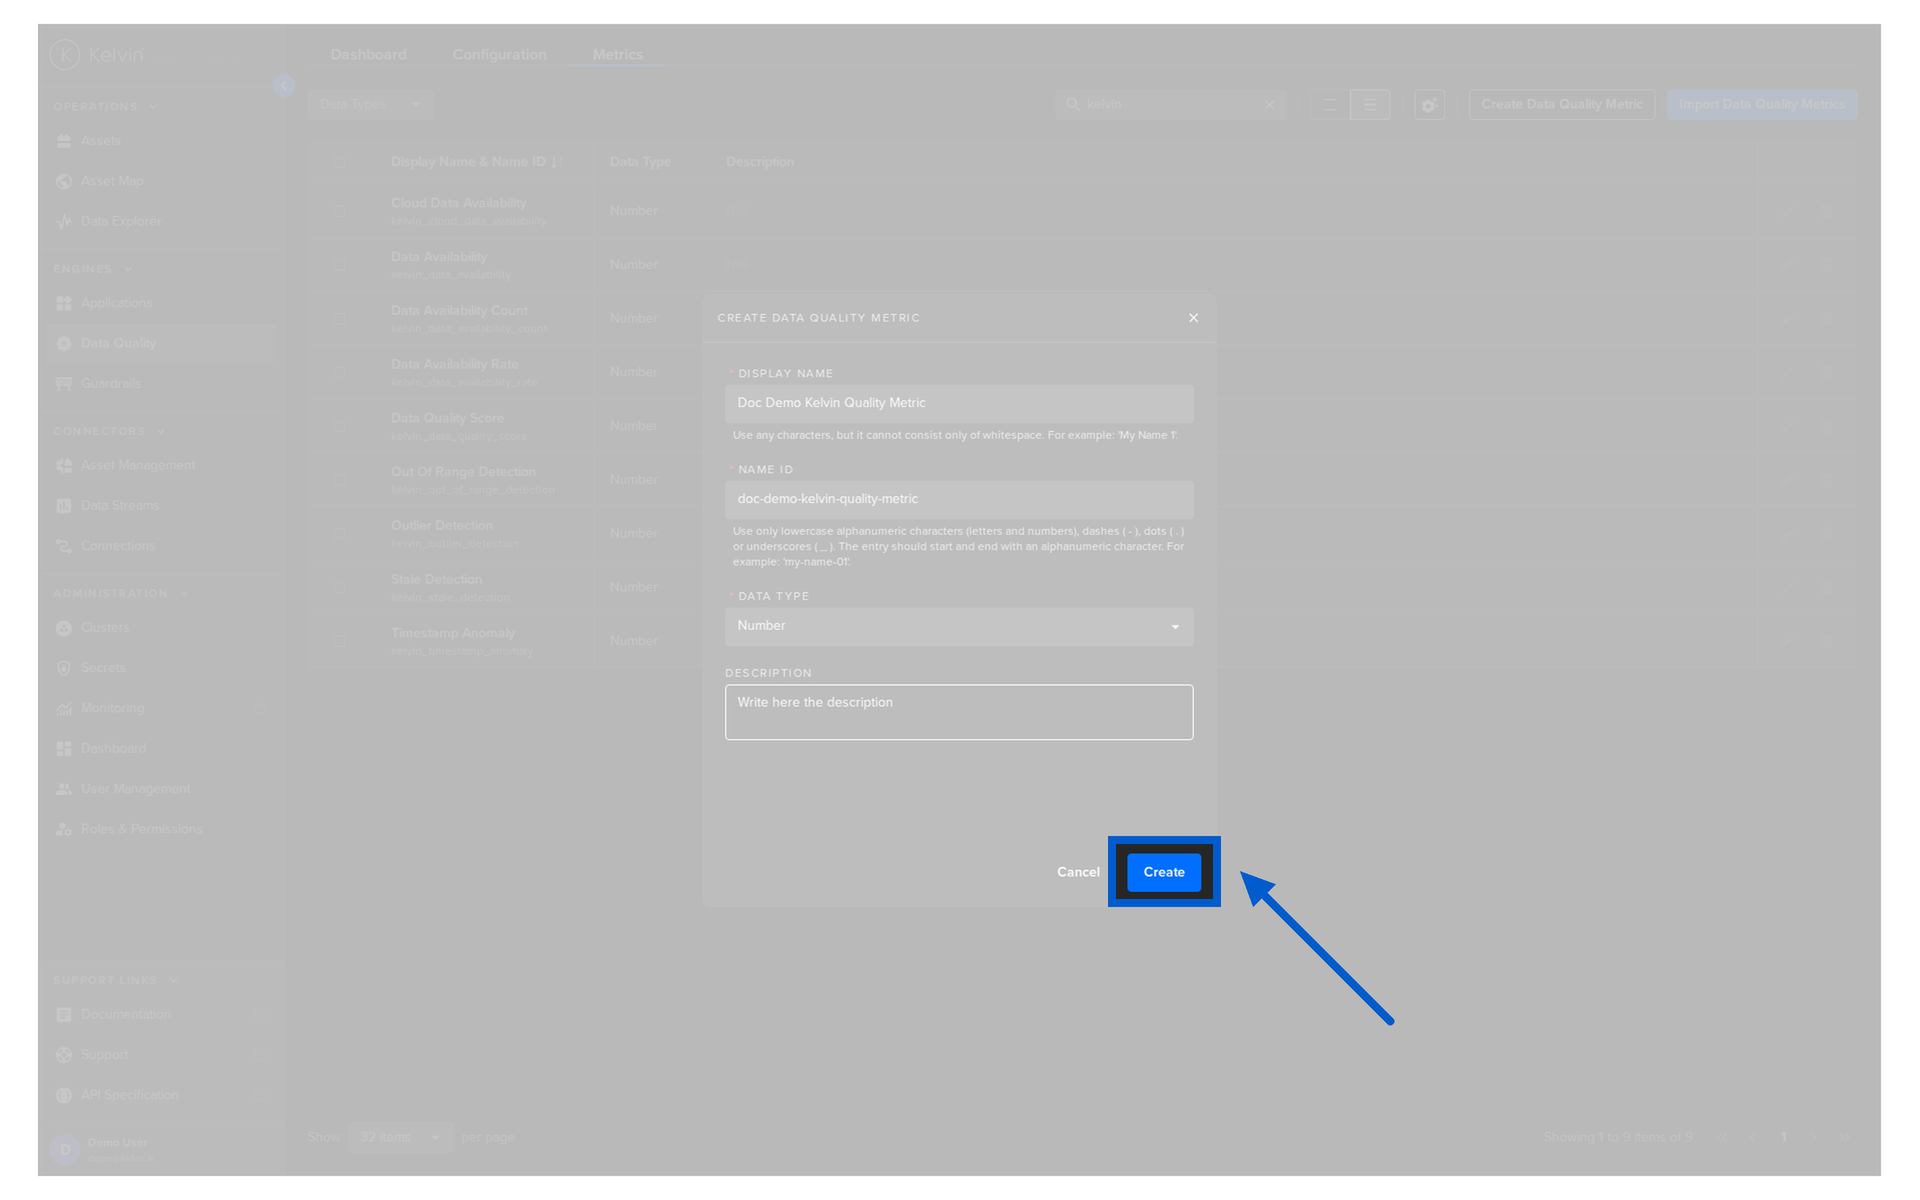
Then click on Create button to create the new Metric.
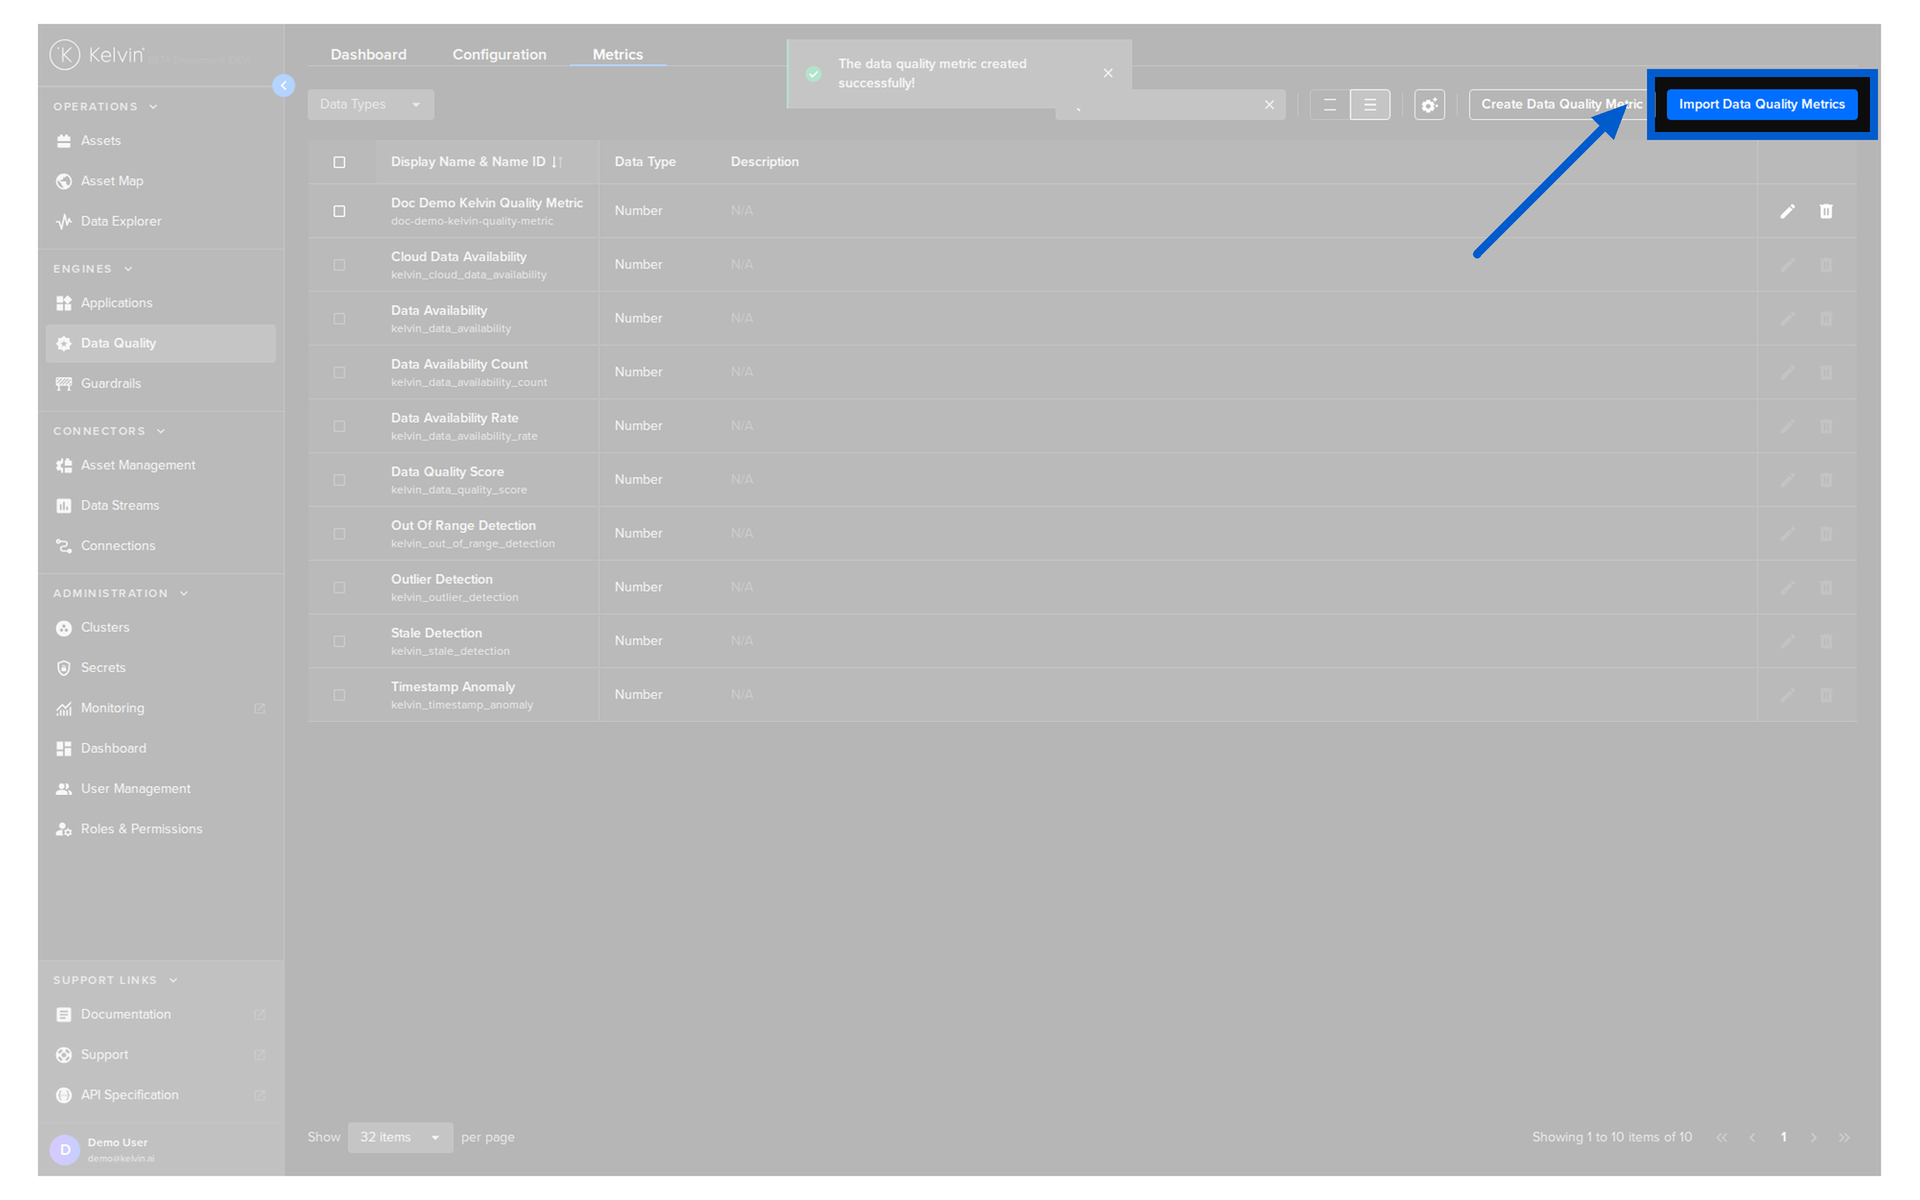
Bulk Import Data Quality Metrics
Click on the Import Data Quality Metrics button in the top right corner.
Here you can download the example CSV file and open it in Google Sheets or Microsoft Excel to fill in.
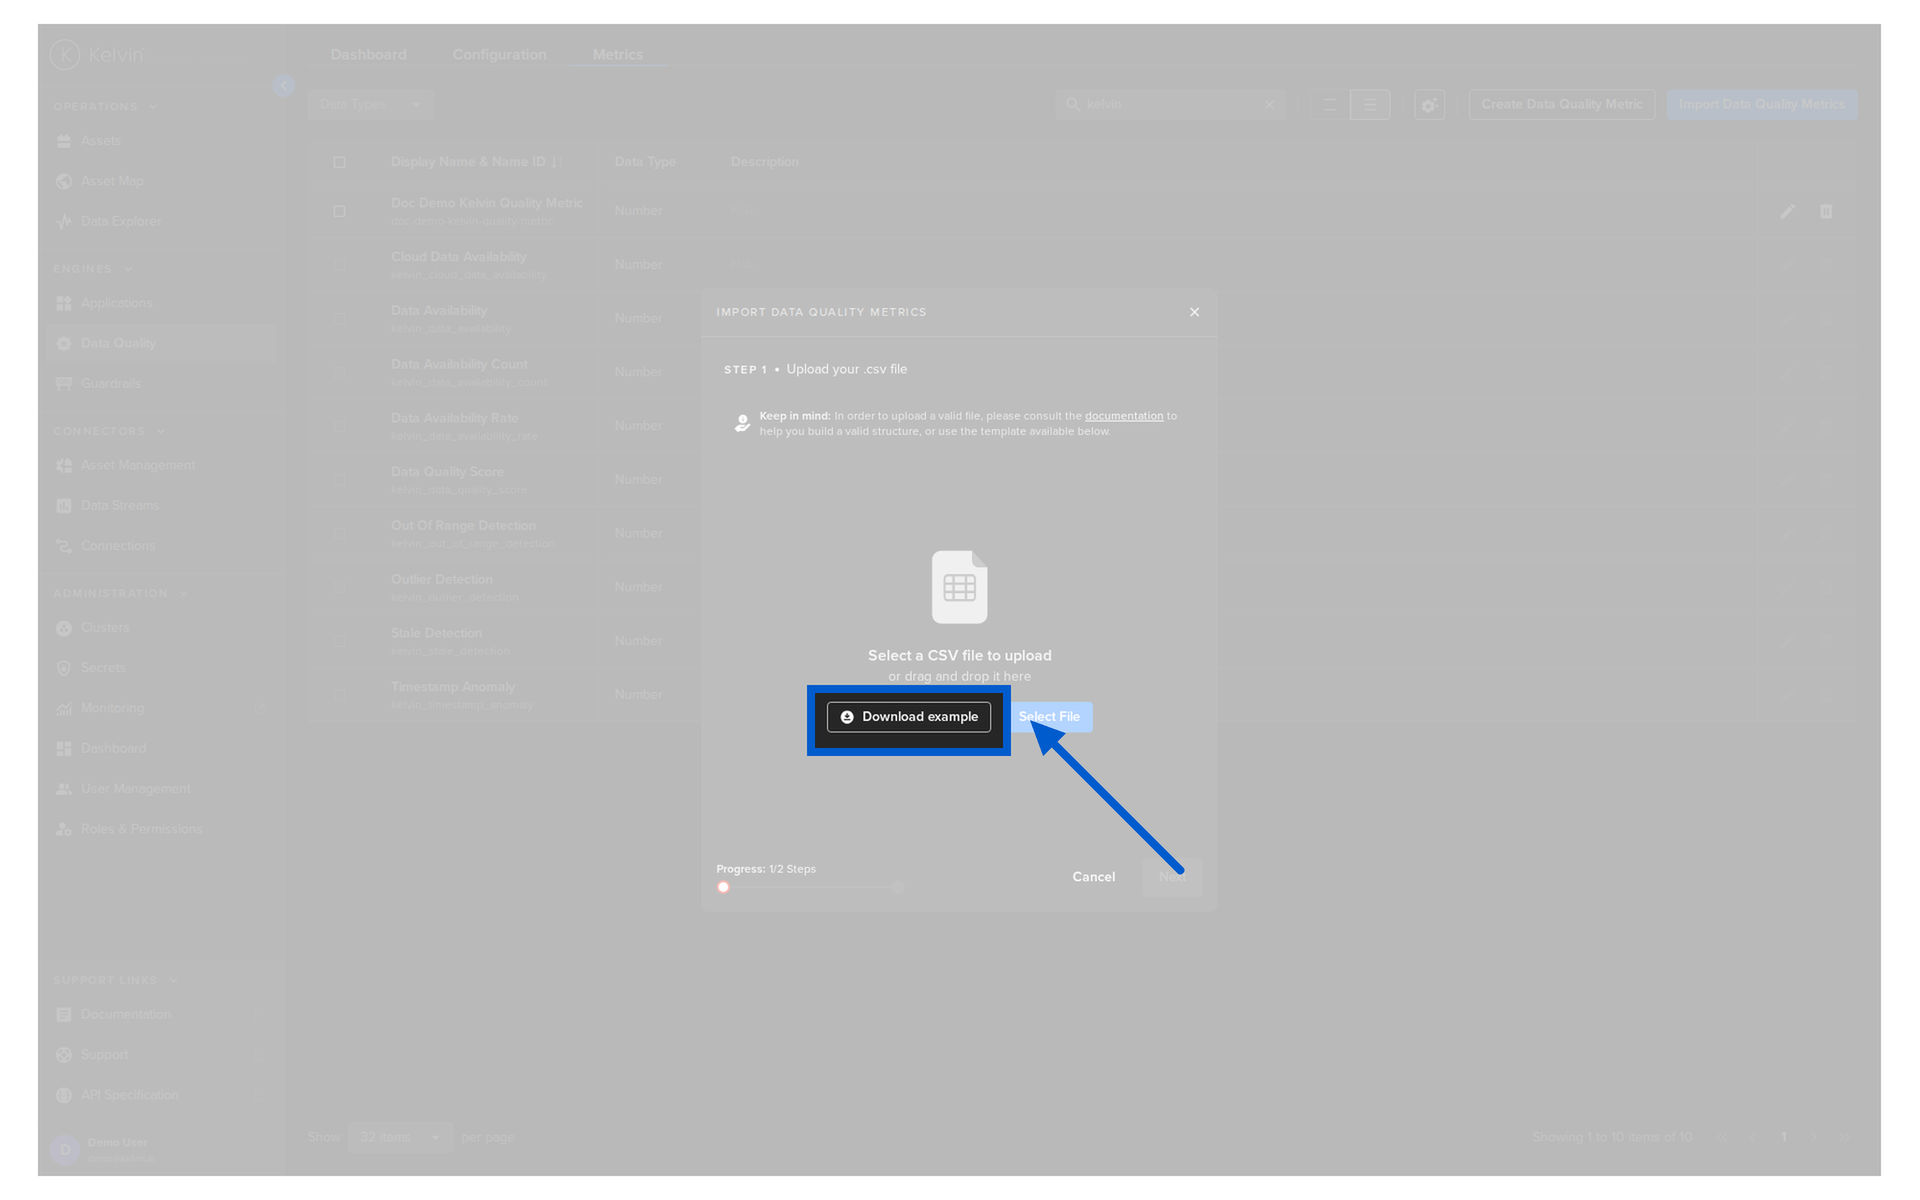
When ready, you can upload your updated CSV file.
Click on Select File button or drag and drop your CSV file into the browser box.
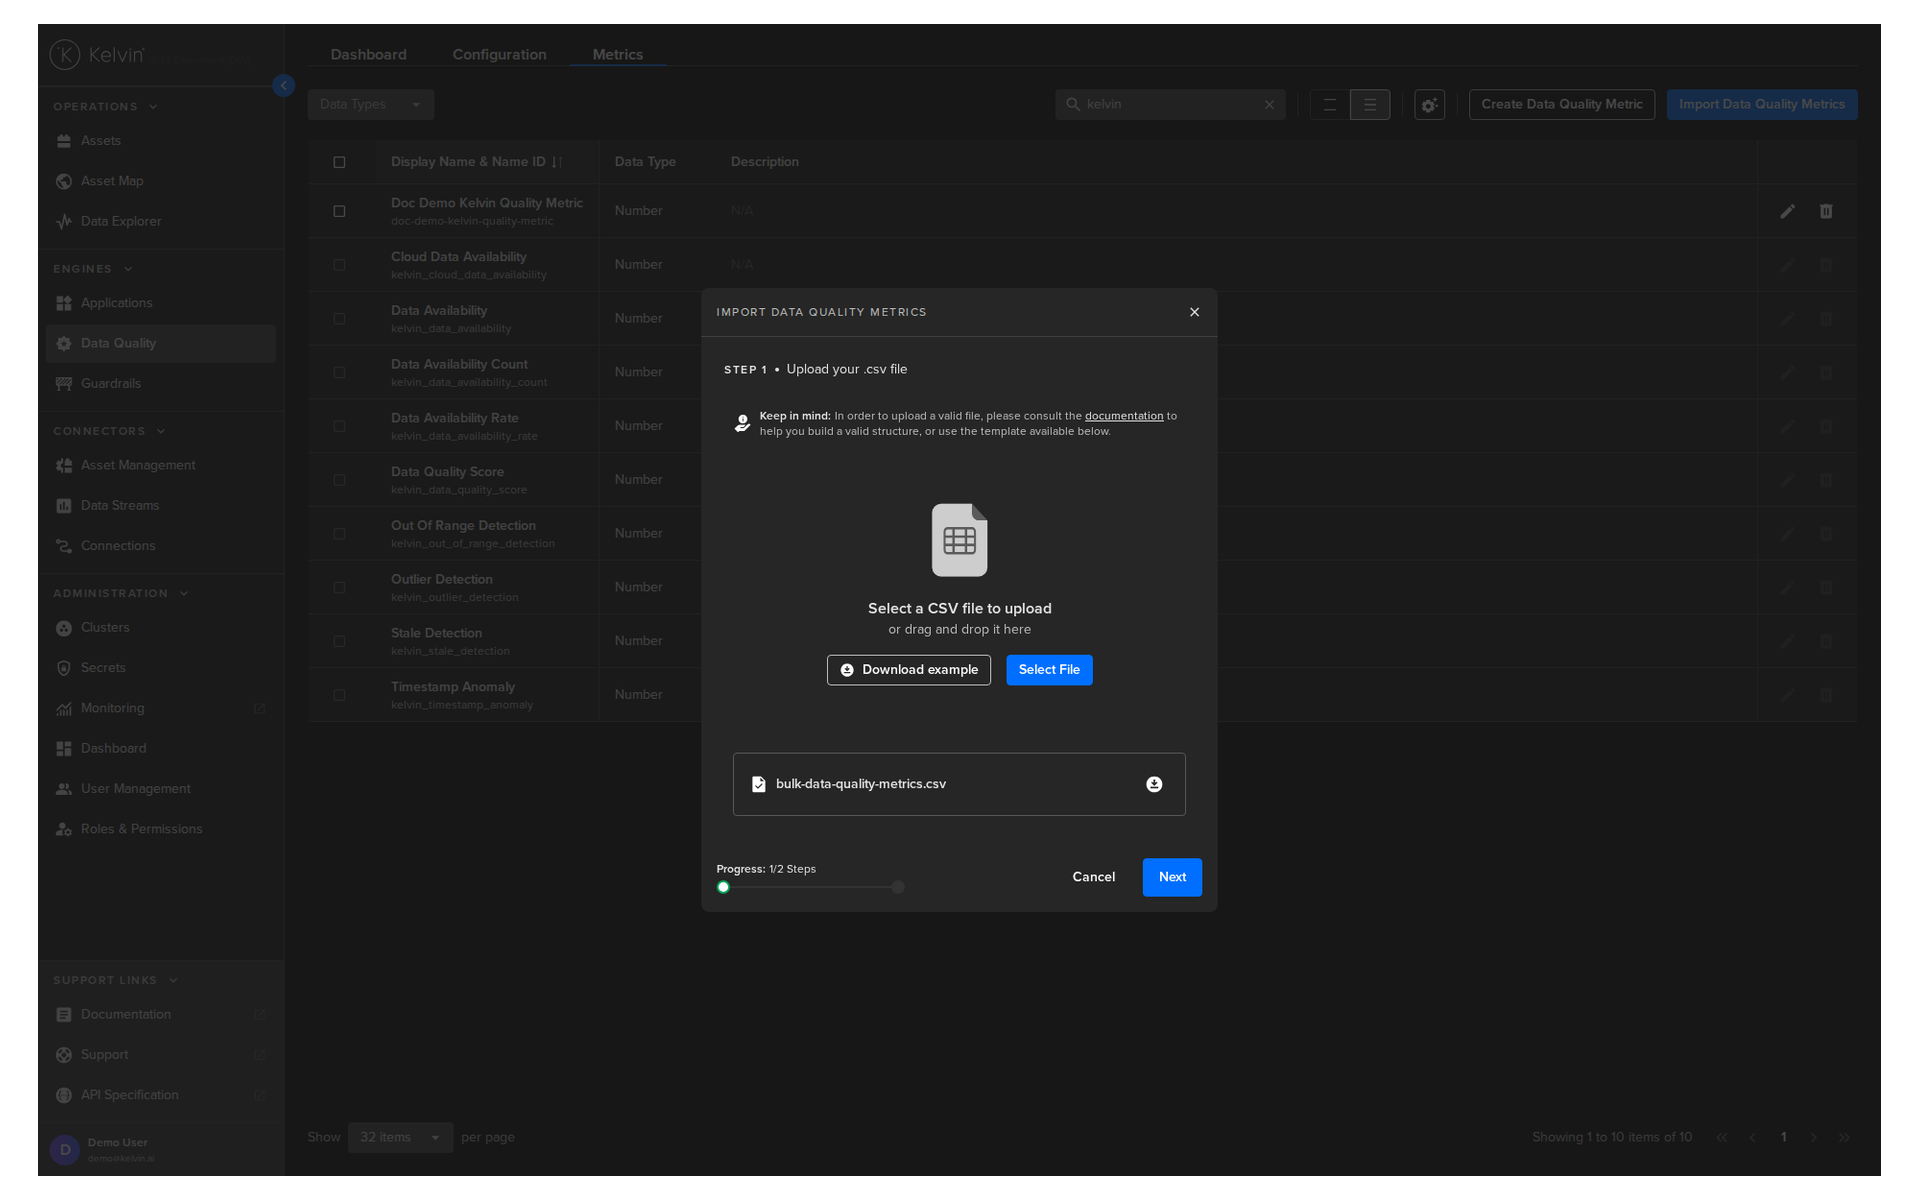
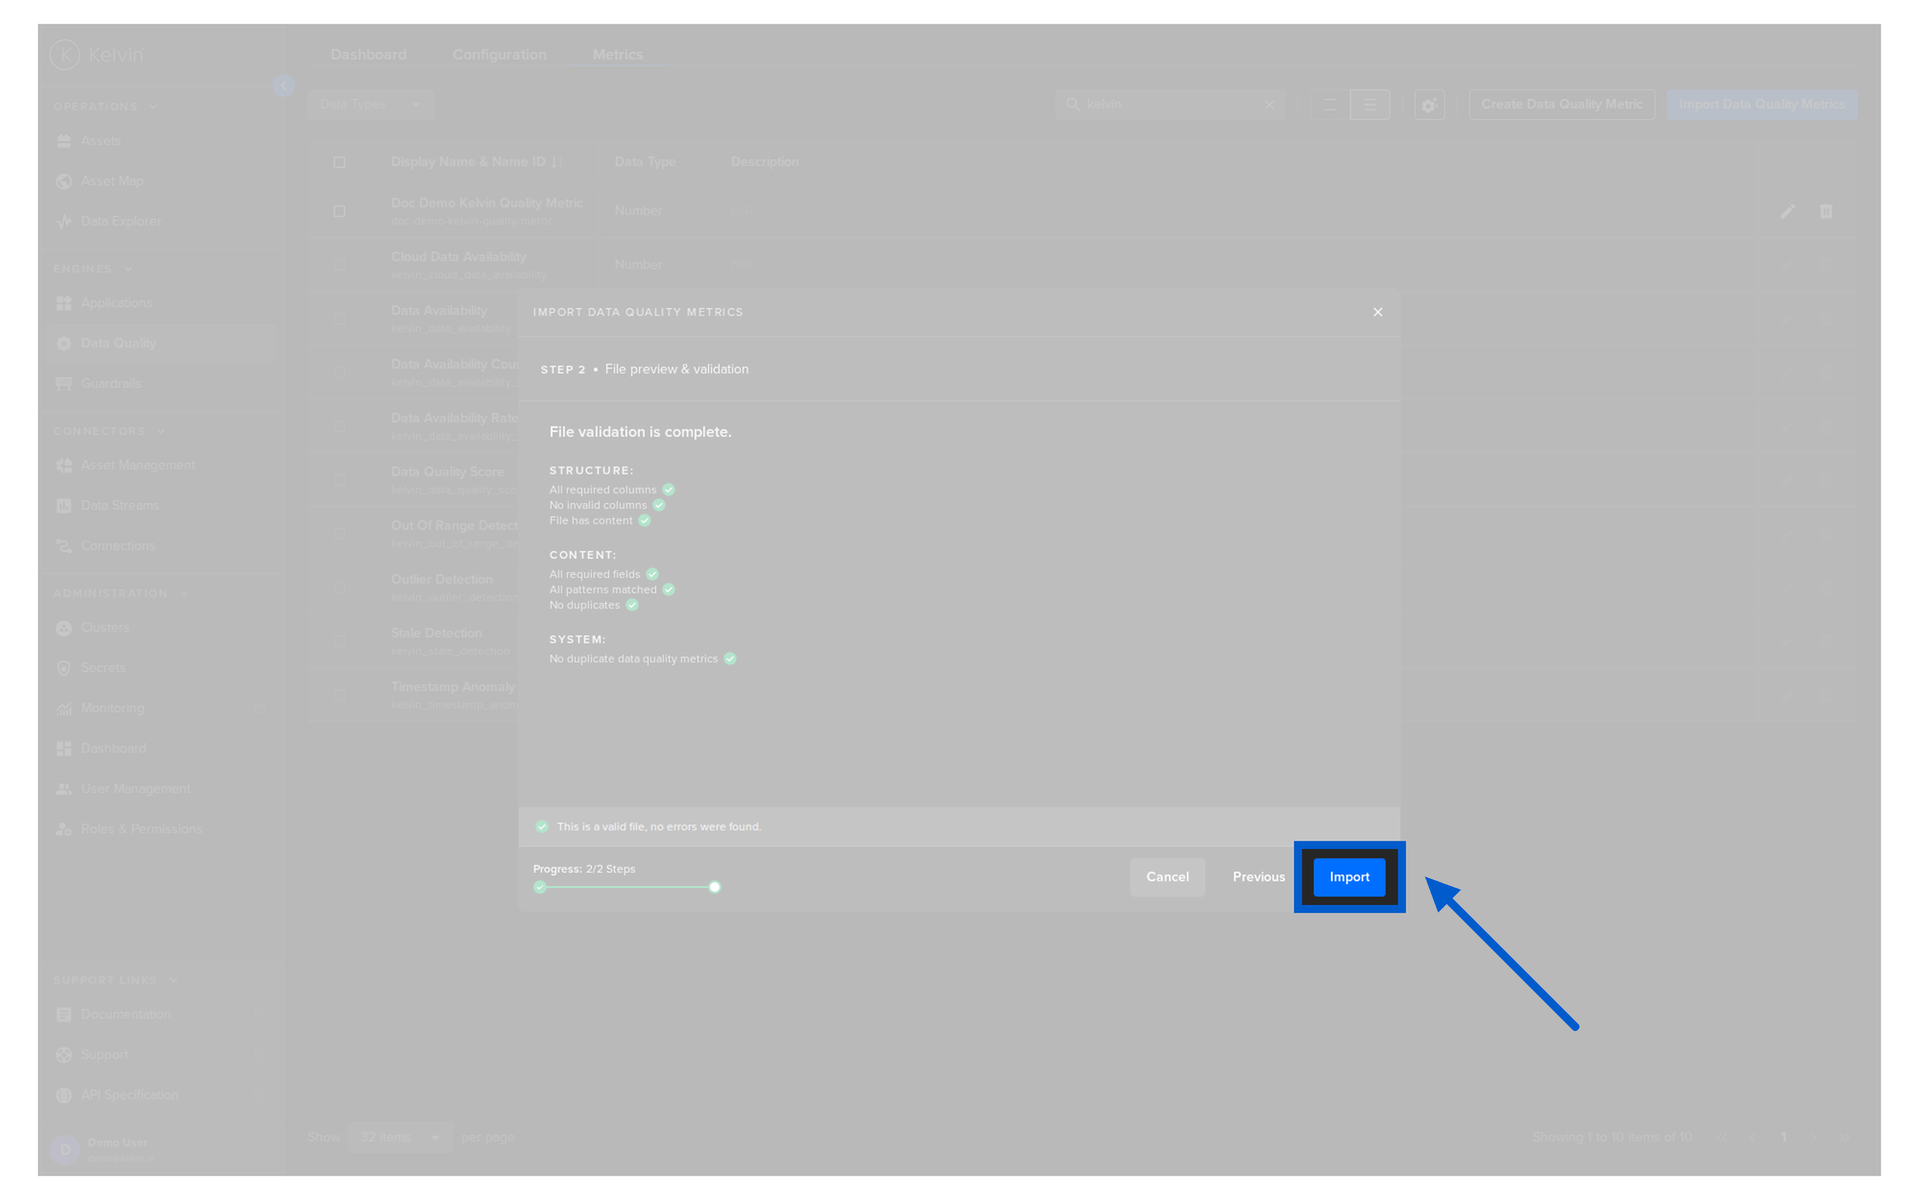
Click the Next button.
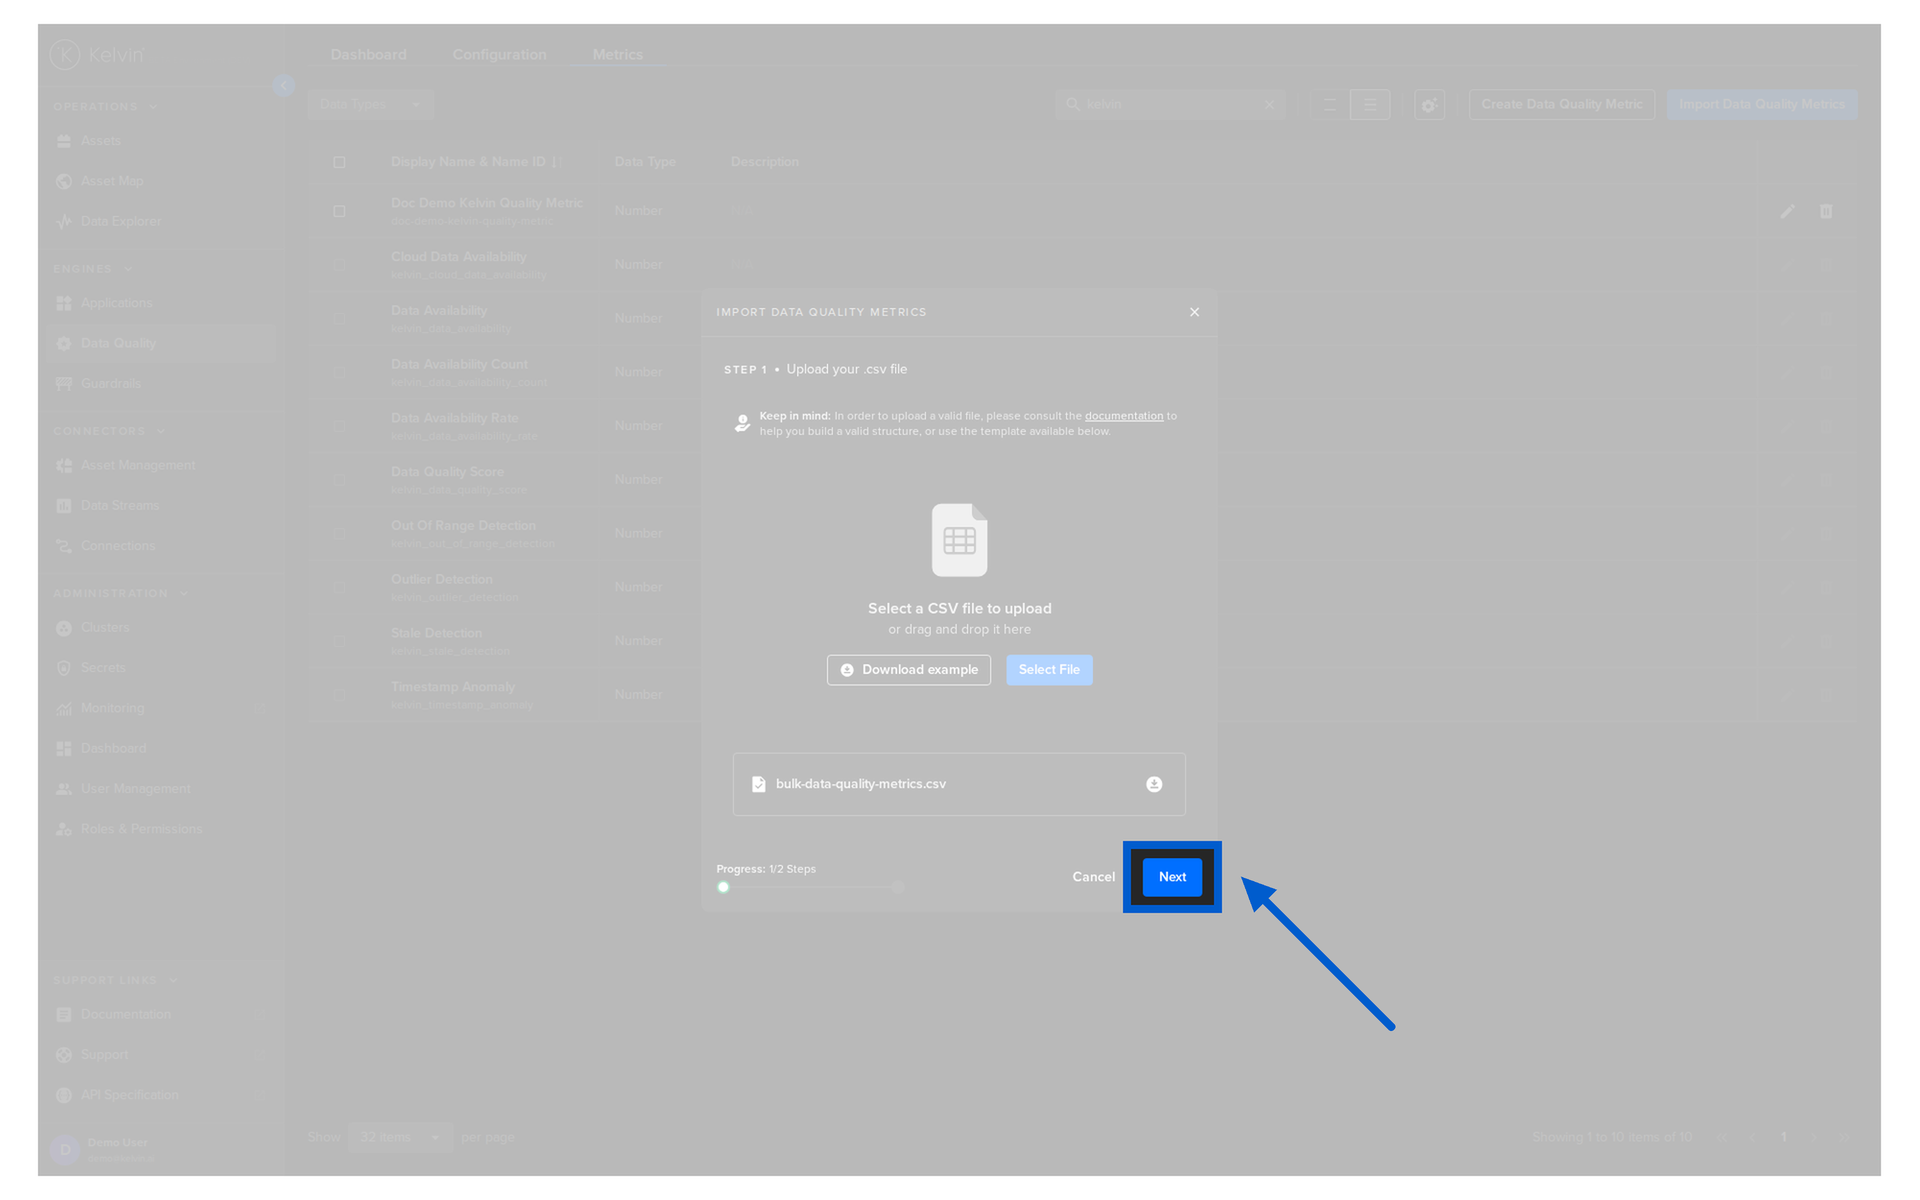
Your file will be validated.
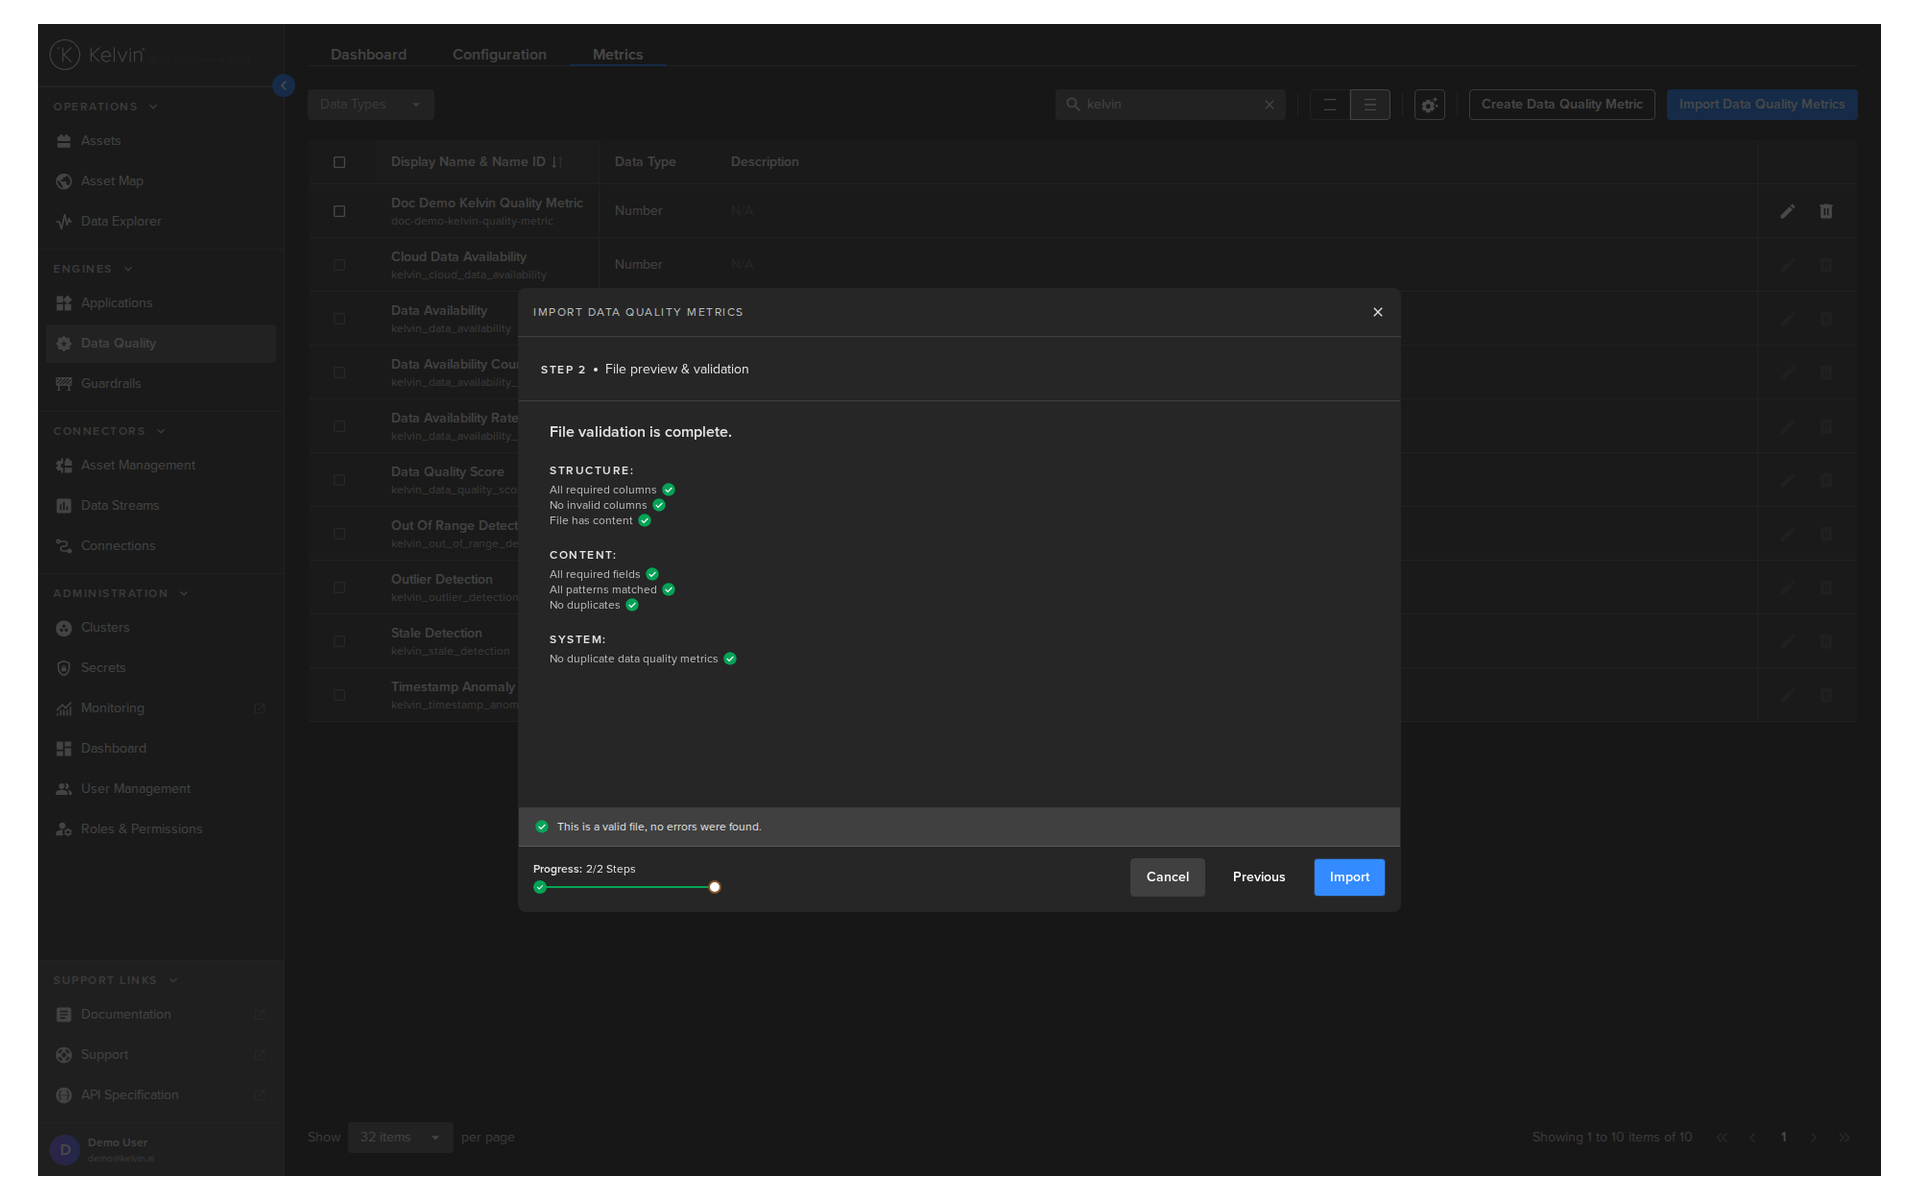
If it passes all tests, then you can proceed by clicking the Import button.
Edit Data Quality Metric
To edit a Data Quality Metric, click on the Edit icon ![]() .
.
Note
You can not edit the built-in Data Quality Metrics and the option is grayed out.
![]()
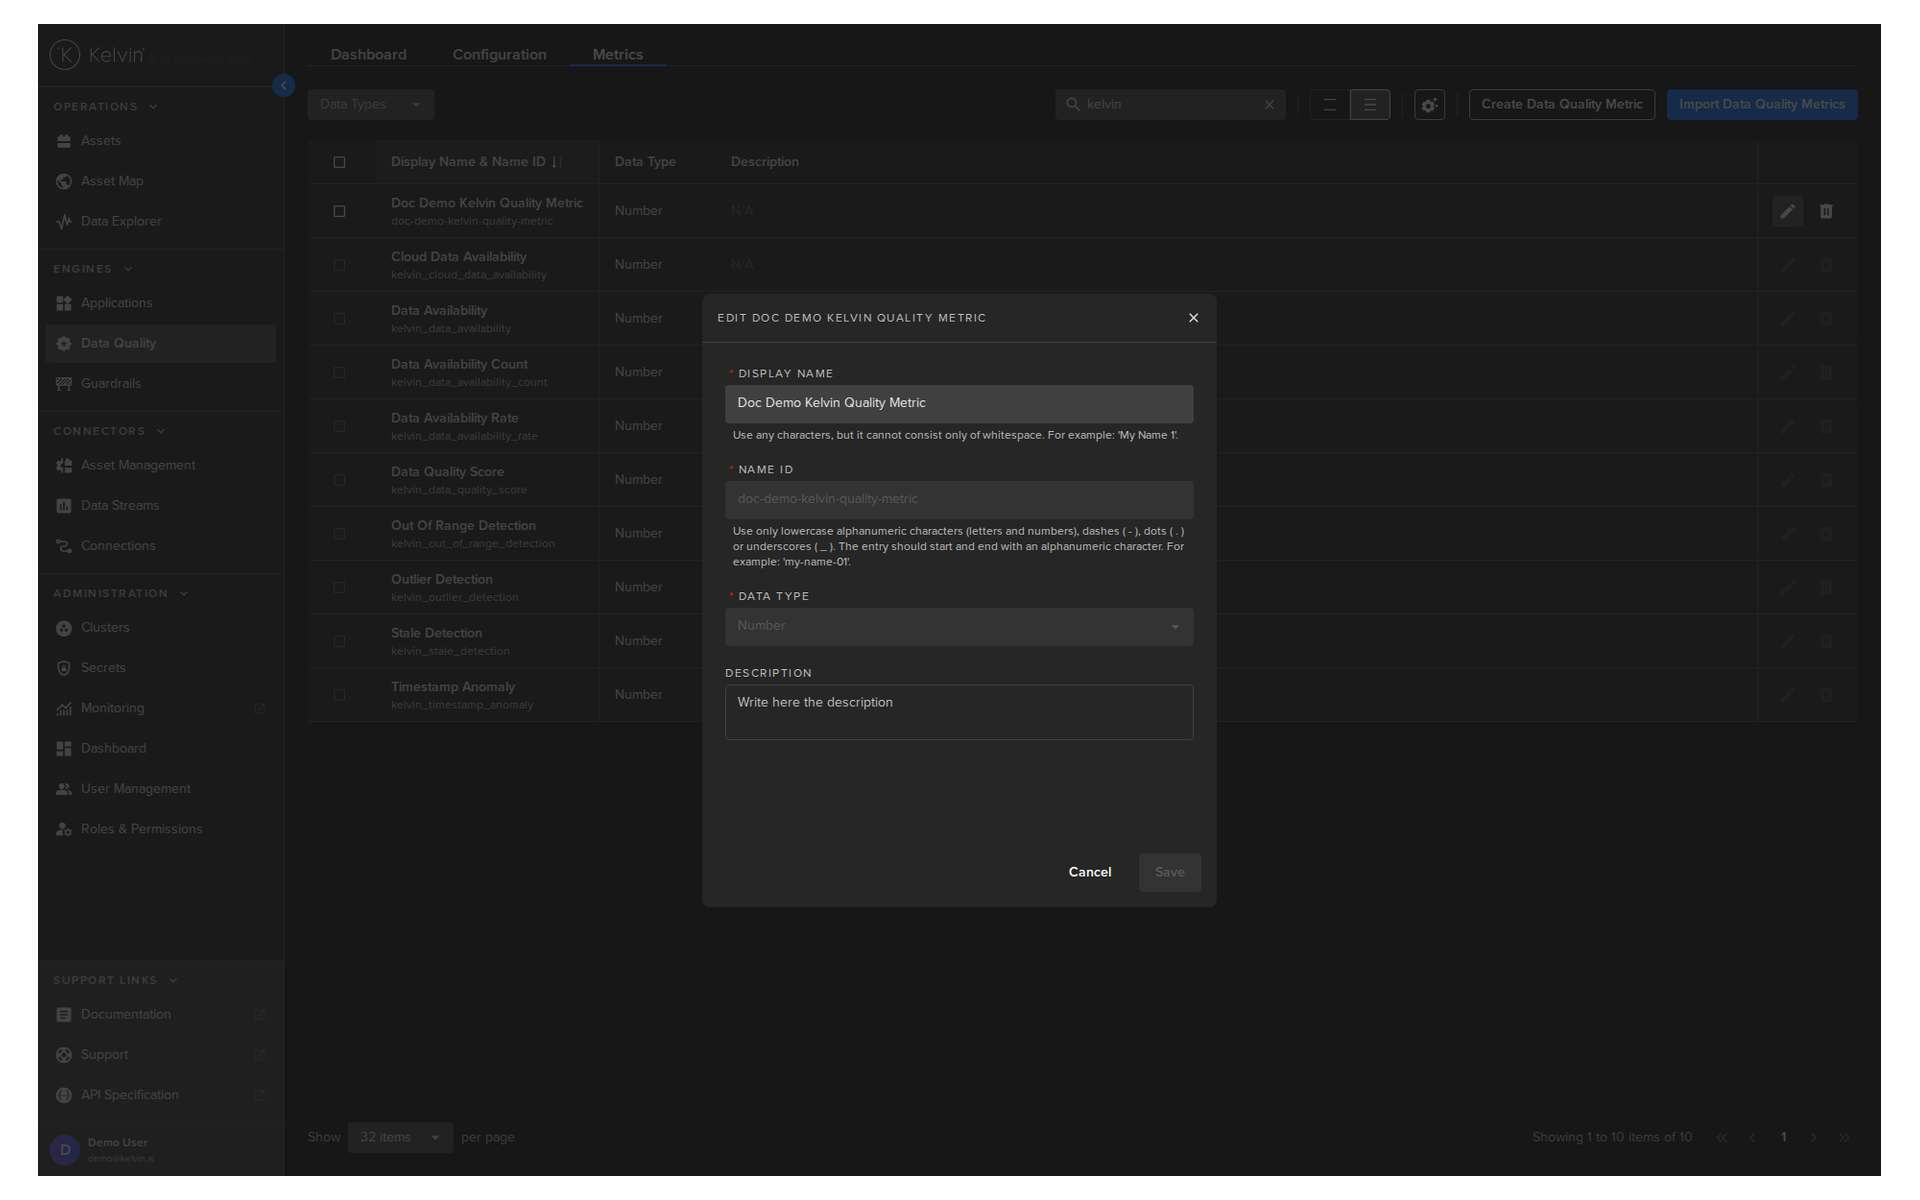
In the popup you can now edit the Display Name.
When finished, click on the Save button.
Delete Data Quality Metric
To delete a Data Quality Metric, click on the Delete icon ![]() .
.
Note
You can not delete the built-in Data Quality Metrics and the option is grayed out.
![]()
In the popup, type PERMANENTLY DELETE into the textbox.
And click the Delete button to confirm your deletion.
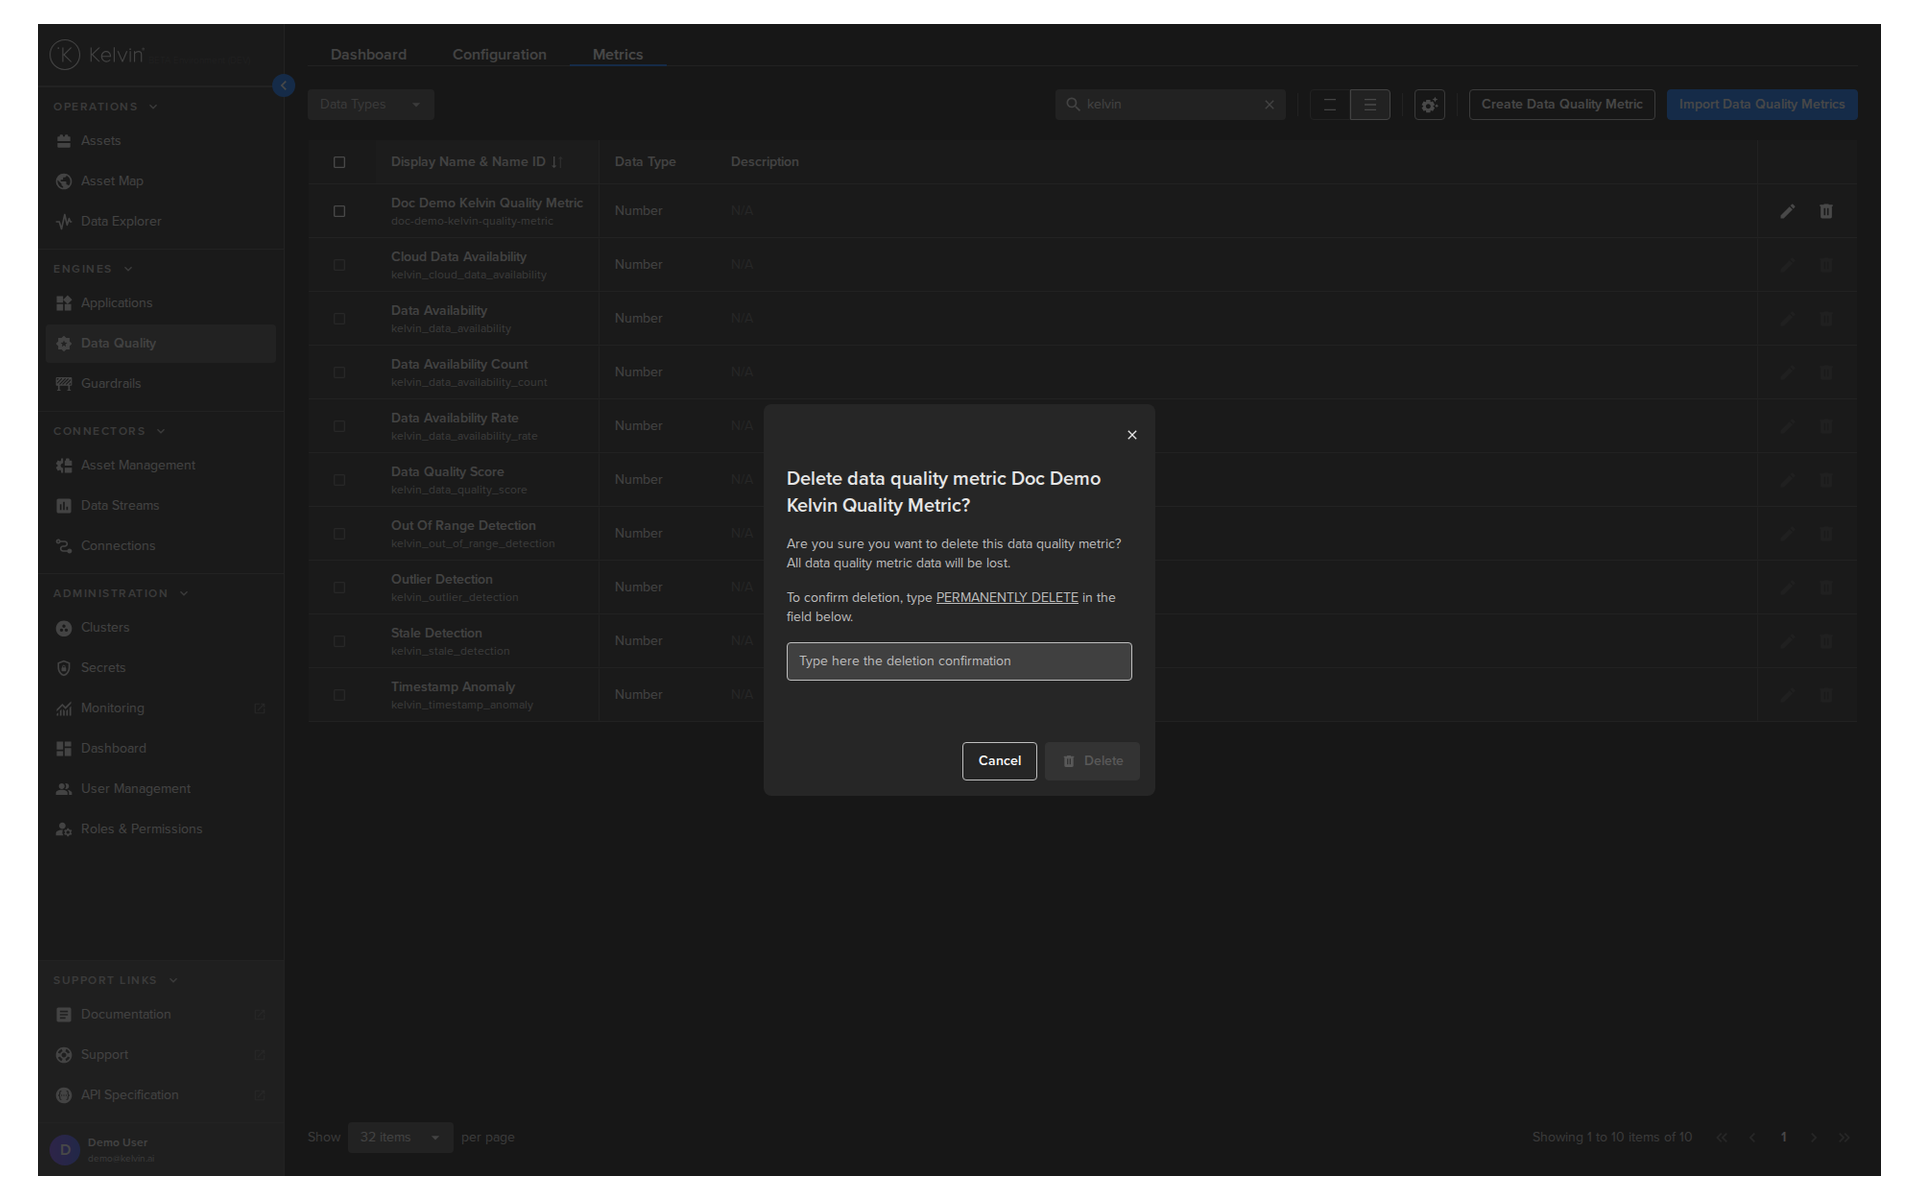
Your Data Quality Metric is now permanently deleted.