Smartapp details tab assets add asset
Adding Assets to Your Application
Assets can be added to your Applications without requiring any knowledge about the infrastructure or Application variables.
This is ideal for Operations.
Note
For power users like Developers or Platform Administrators you can add Assets to your Applications through the Workload tab where all deployment options are available.
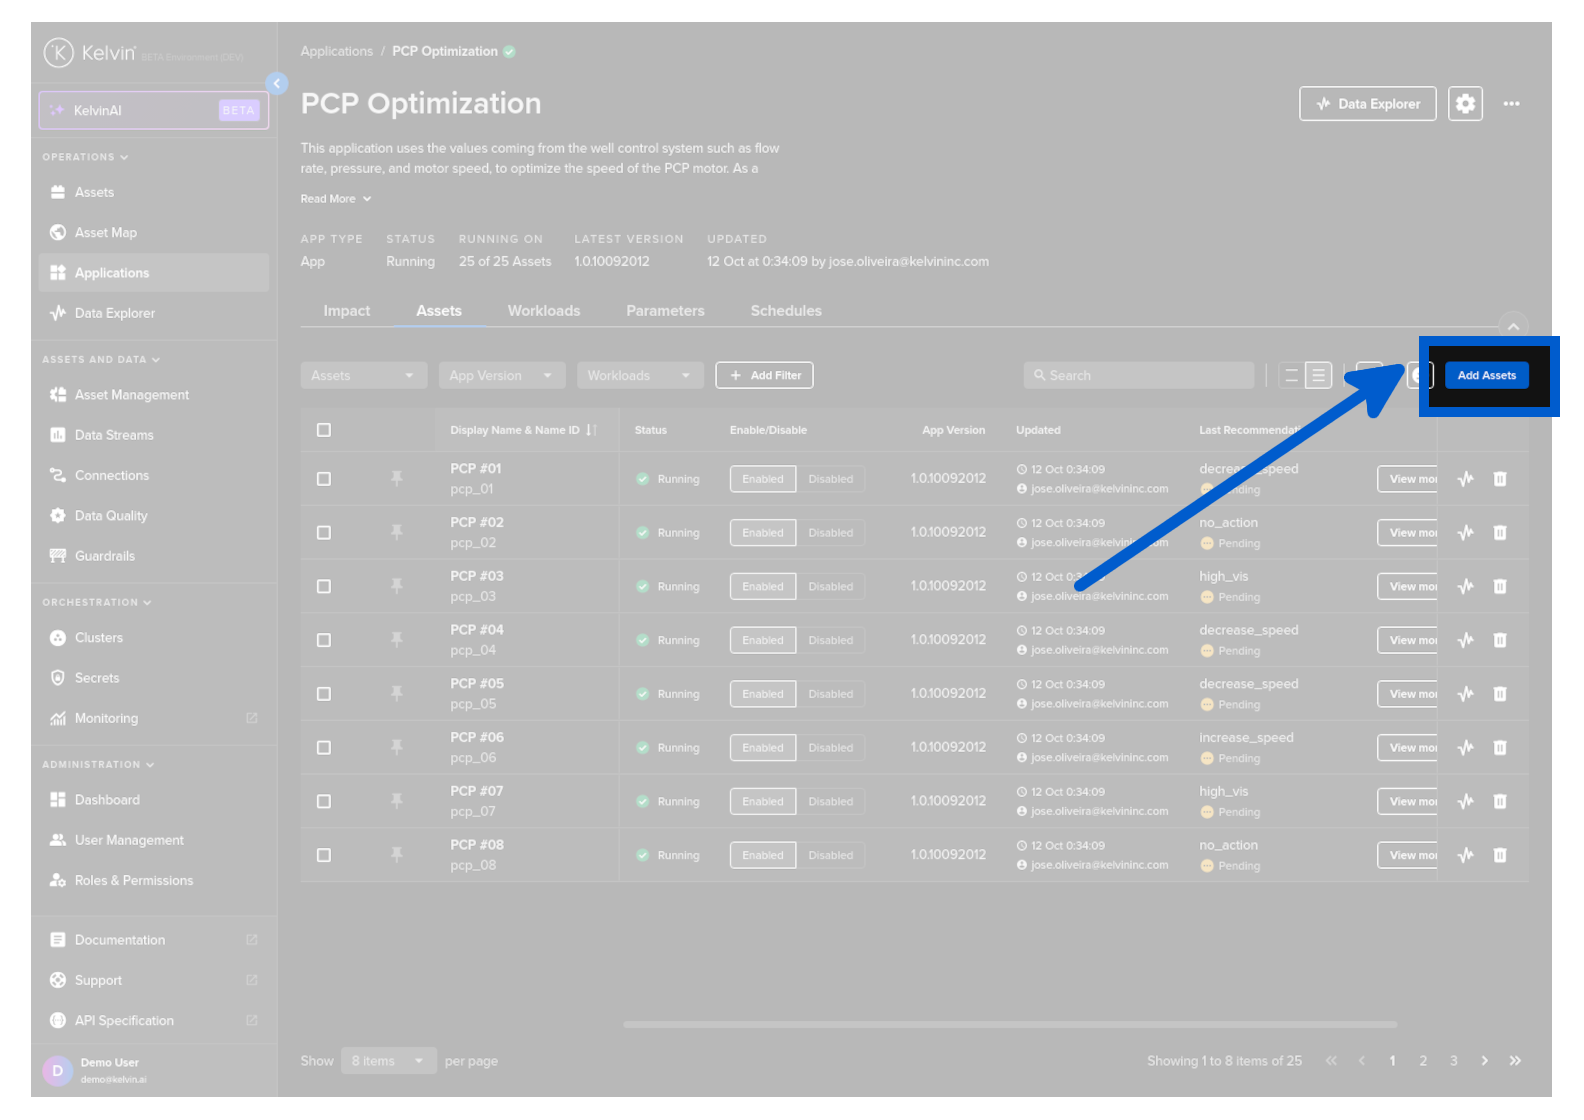
To start go to the Application details page and click on the Assets tab.
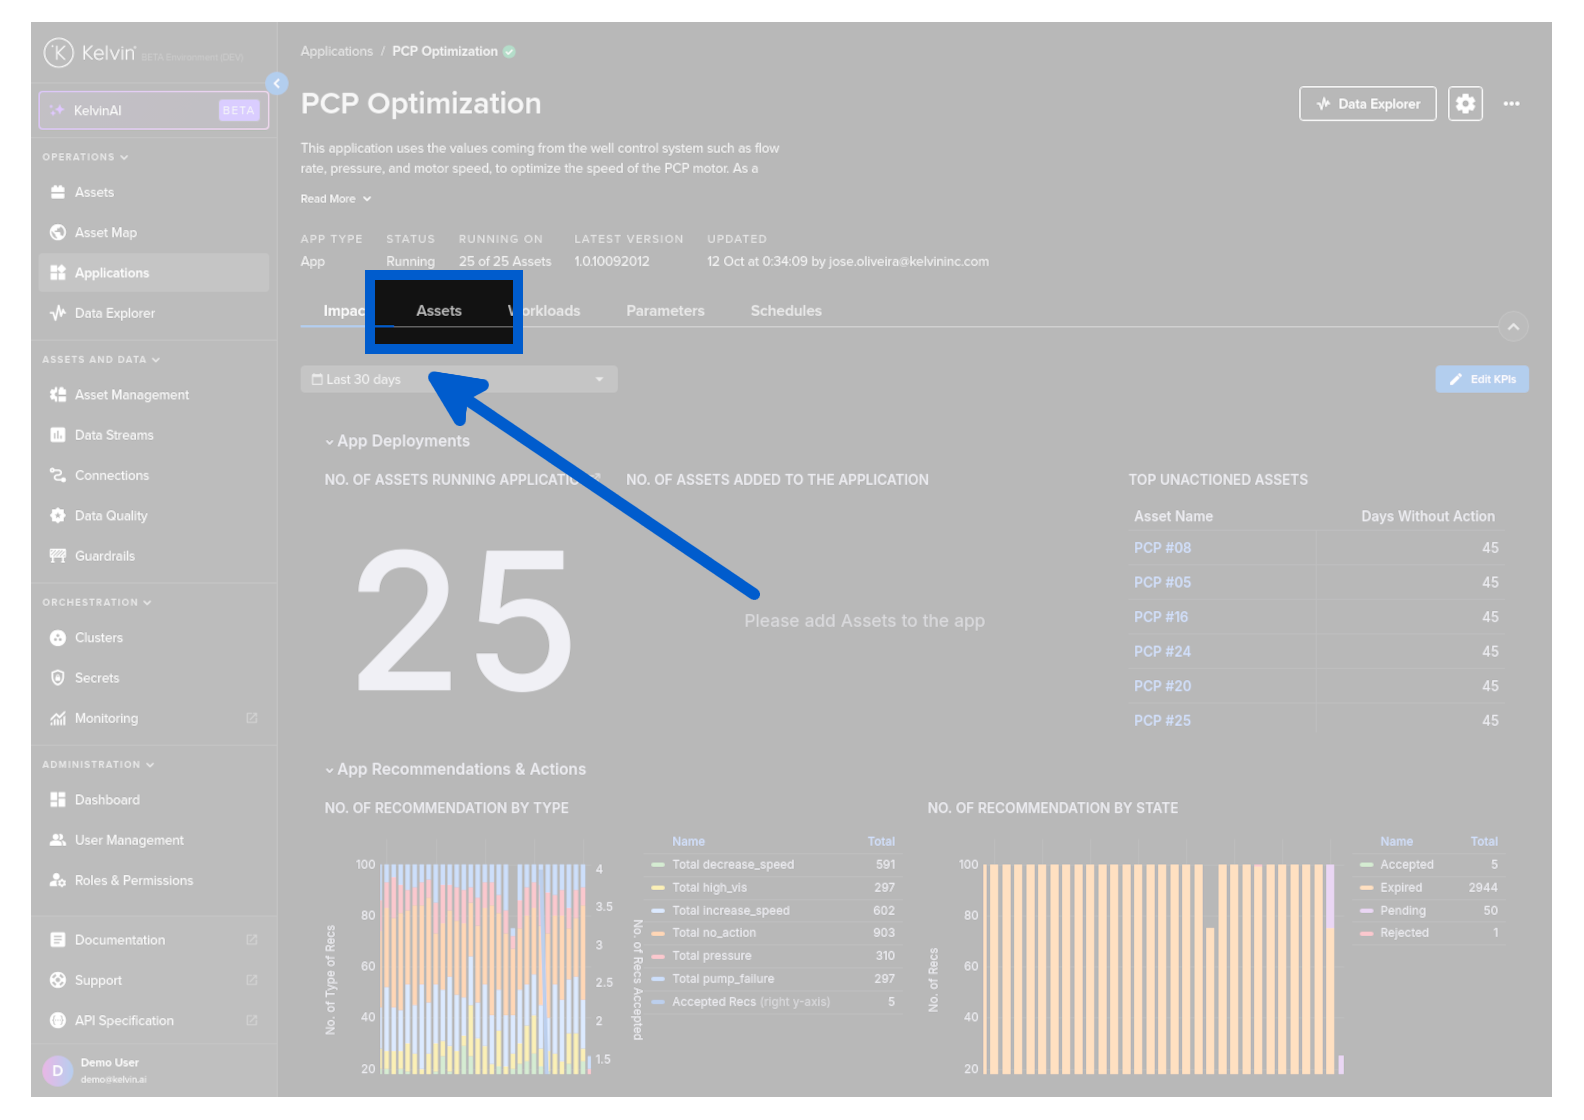
Then click on the Add Assets button.
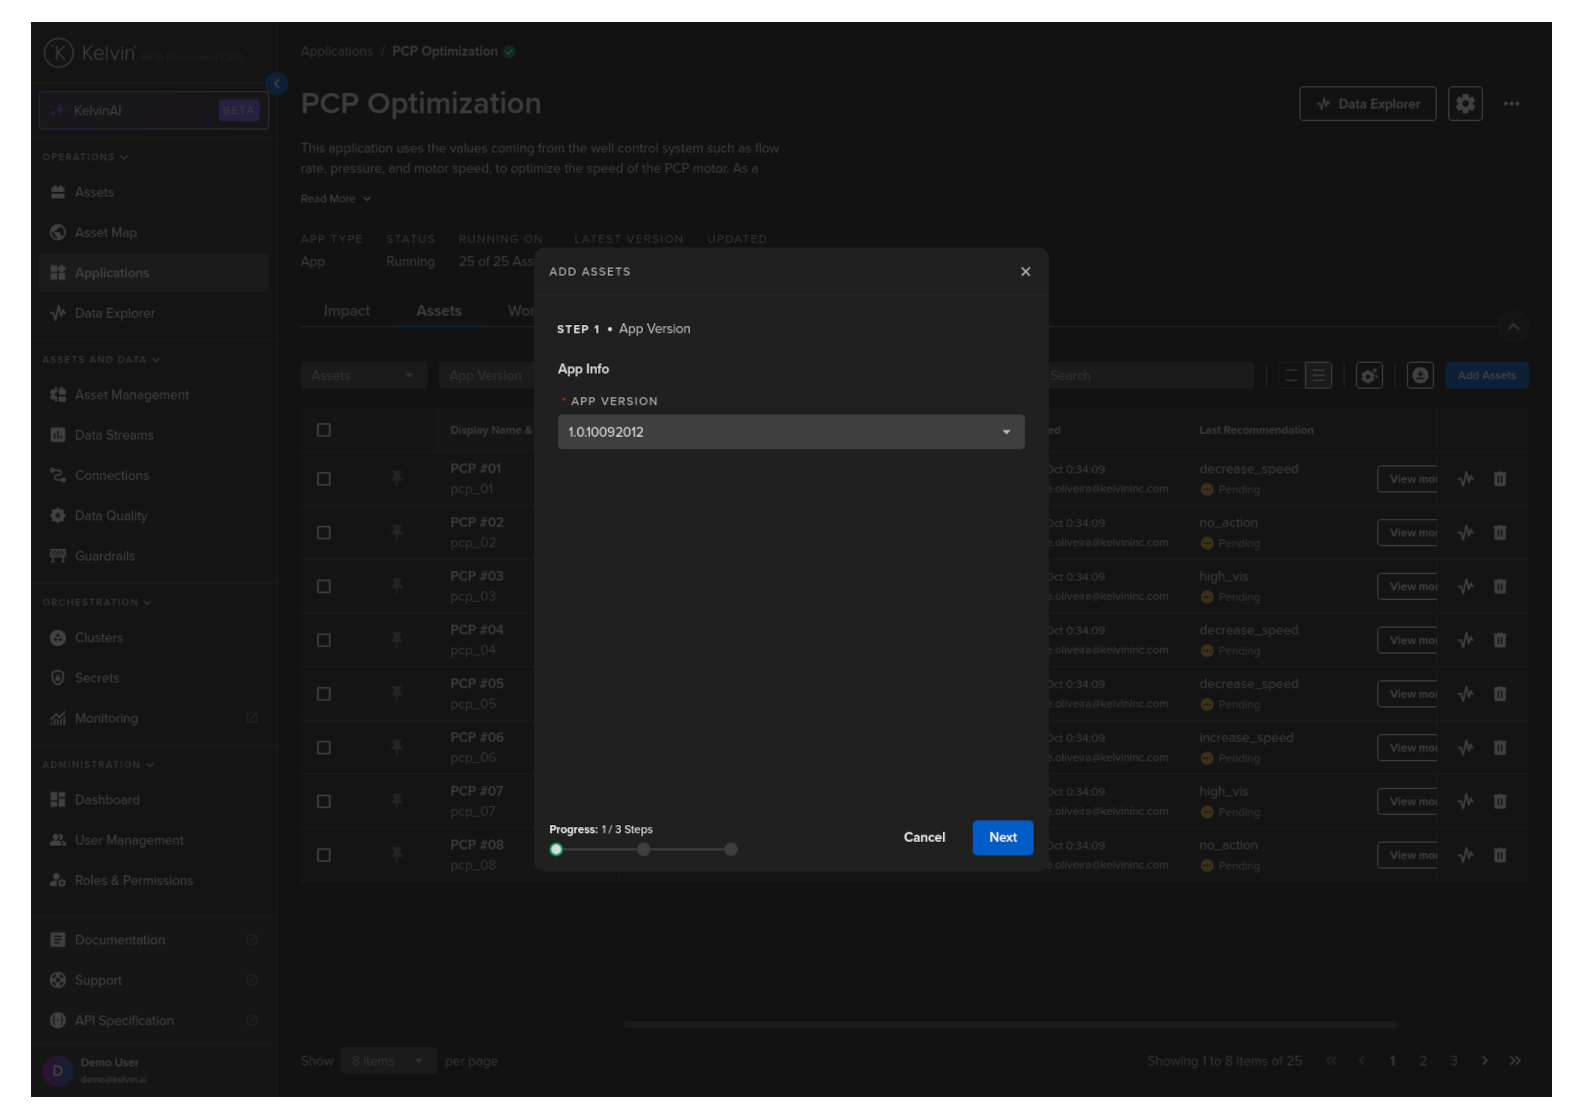
Step 1 - Select Version
In step 1 select the version of the Application you want the Assets to use.
When ready click Next button.
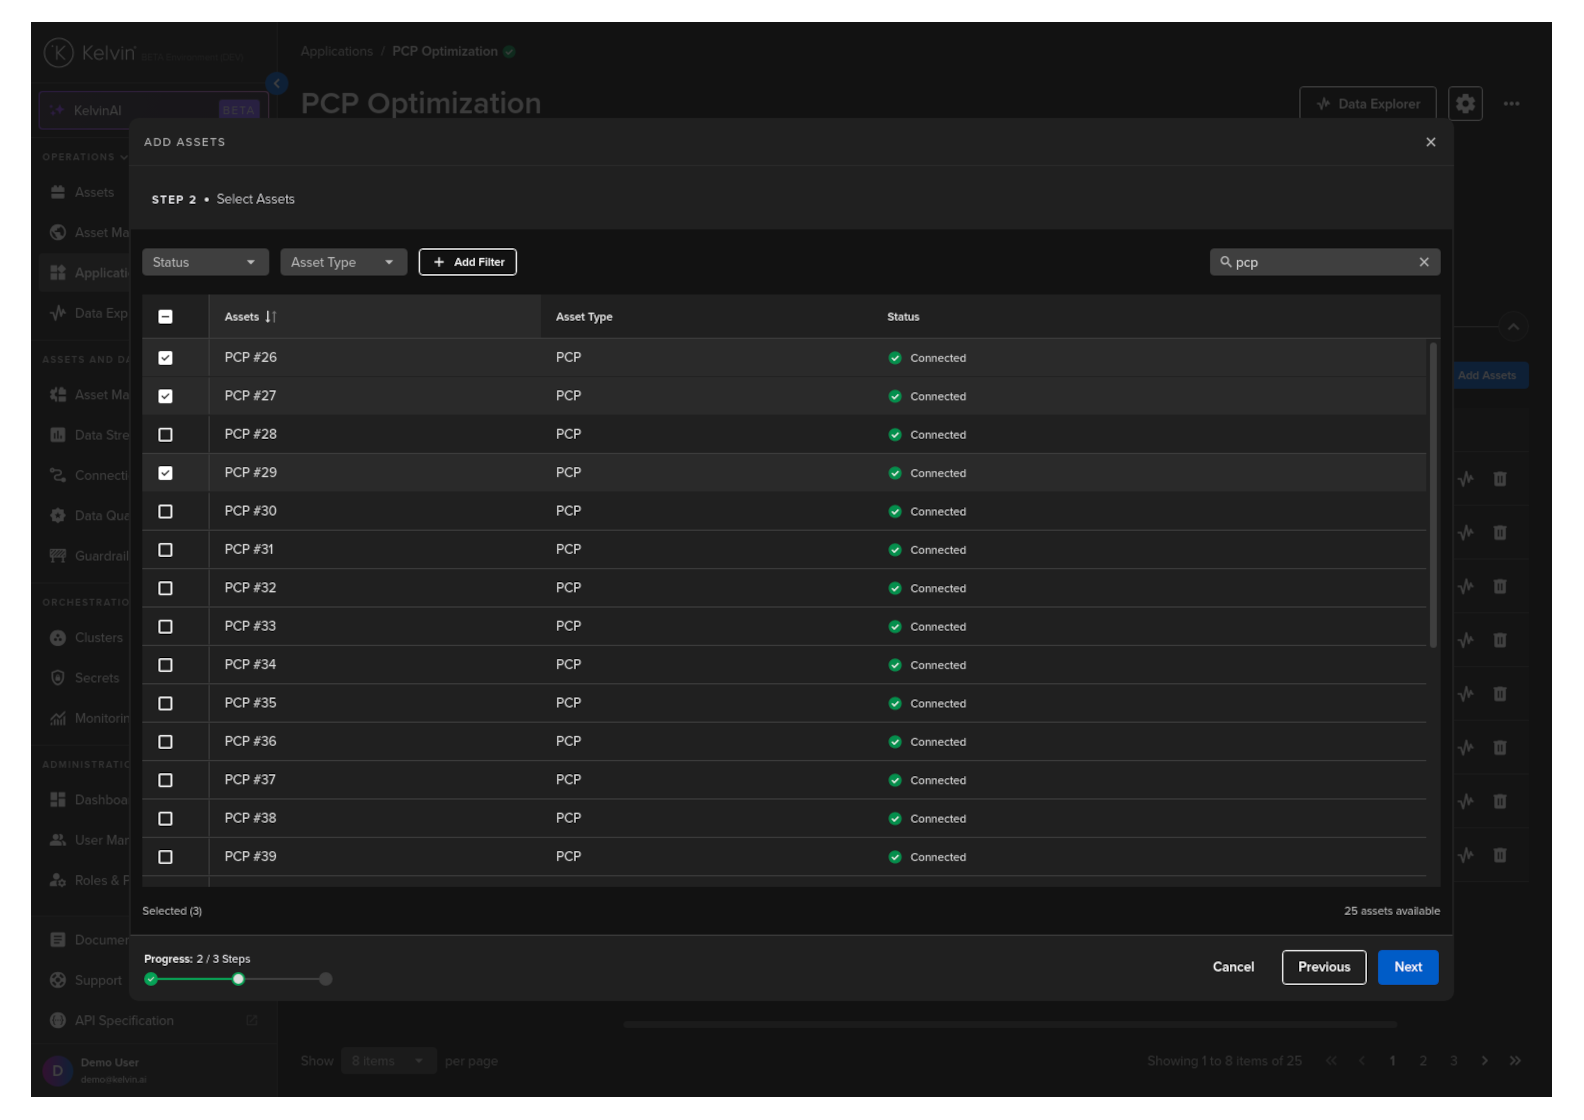
Step 2 - Select Assets
In step 2 select the Assets you want to add.
Note
If any Assets have missing requirements such as no associated Data Streams that are required for the Application, then an alert will appear between the filters and the Asset list.
You can also filter the list to only see the Assets which have missing requirements.
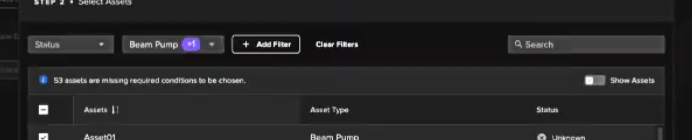
When ready click Next button.
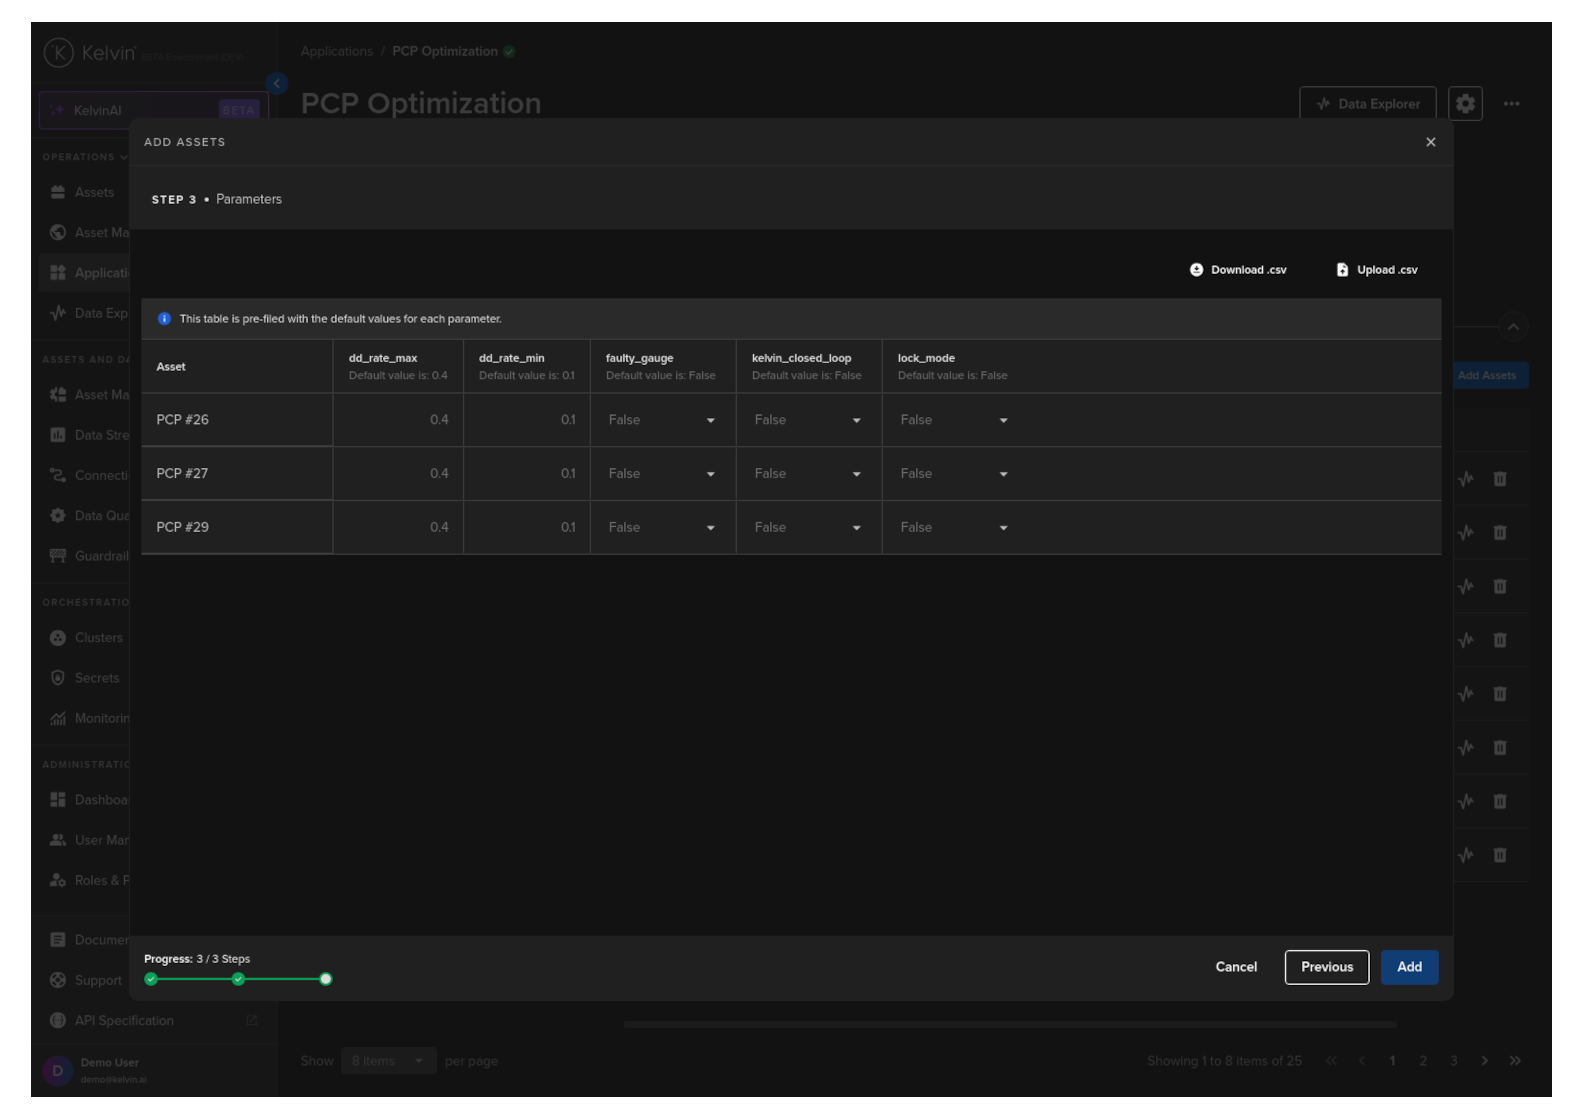
Step 3 - App Parameters
In step 3 you have the option to immediately add custom values to the App Parameters.
Note
This is optional and the default values are automatically filled in when deployed.
Warning
When you add the Asset the default App Parameter values are saved with the Asset.
Future changes of the default values will not affect any Assets that have already been added using the previous default values.
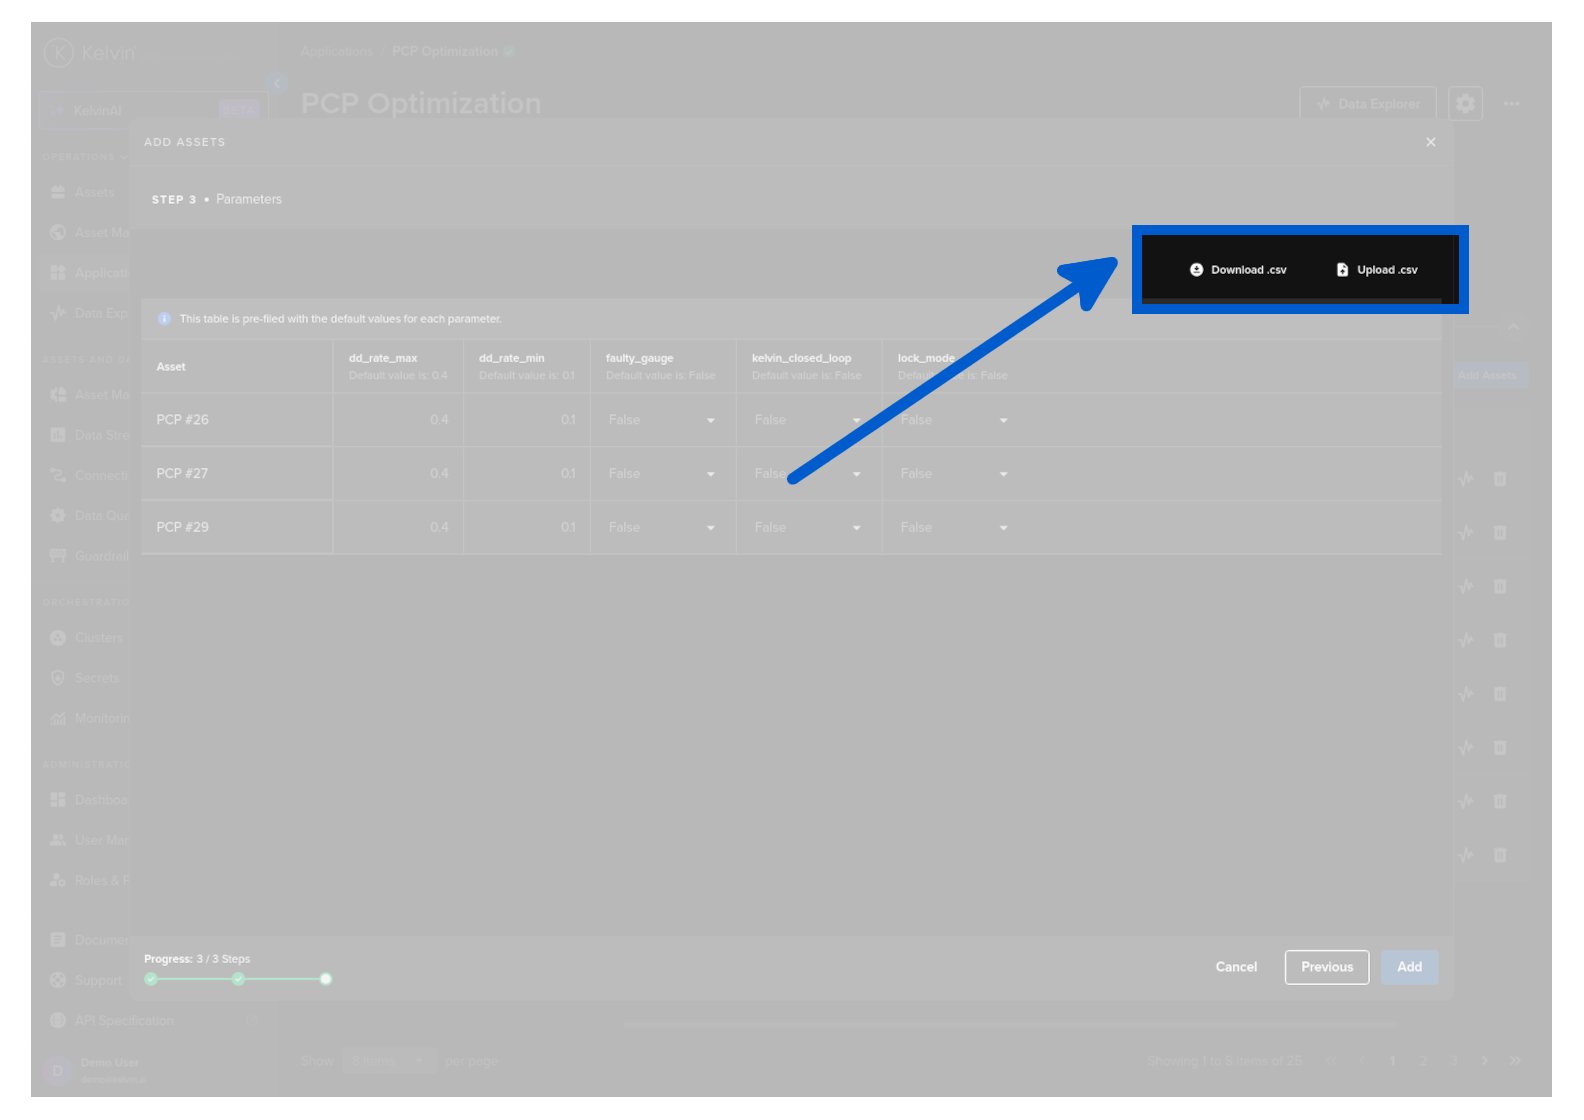
If you are adding many Assets, you can download the App Parameter list to you computer and edit them in Google Sheets or Microsoft Excel.
This allows you to easily do many changes in a familiar environment.
When ready, upload the modified CSV file and it will be populated into the table.
When satisfied with the App Parameter values, click the Add button.
Note
This will be deployed to the default cluster.
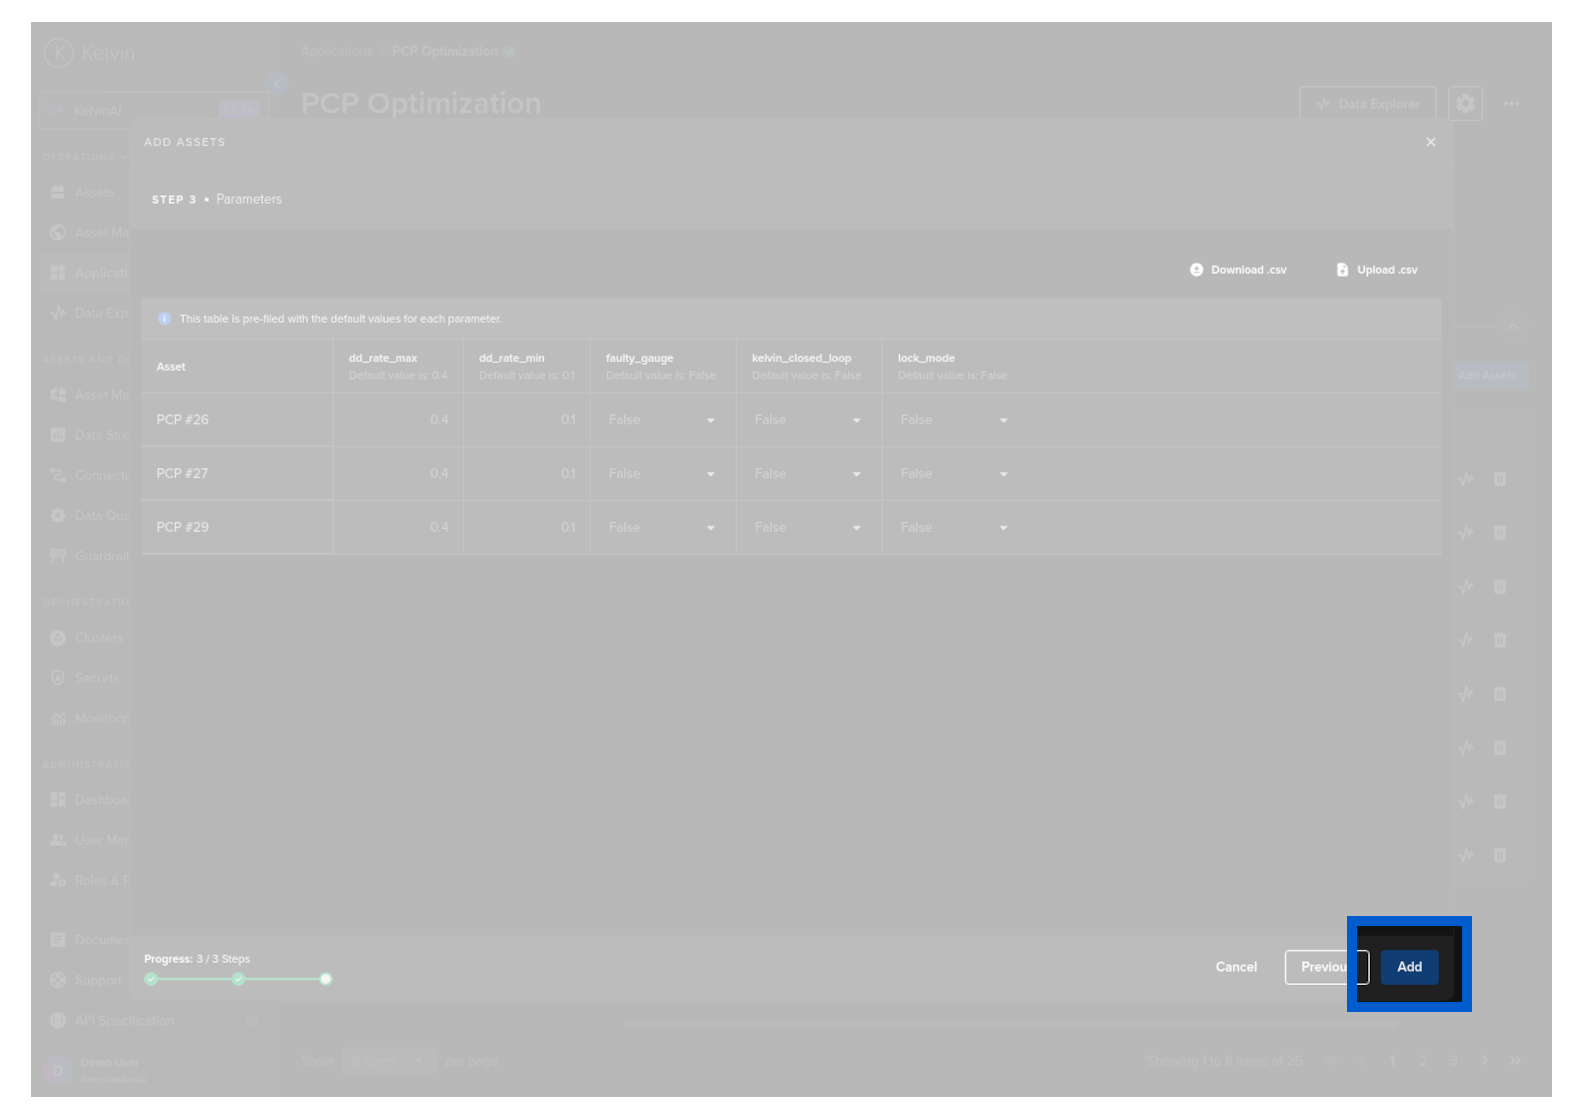
The Assets will now be deployed to the Application and started automatically.
Success
You have now successfully deployed Assets to an Application !